Processing Orders by using WareGo
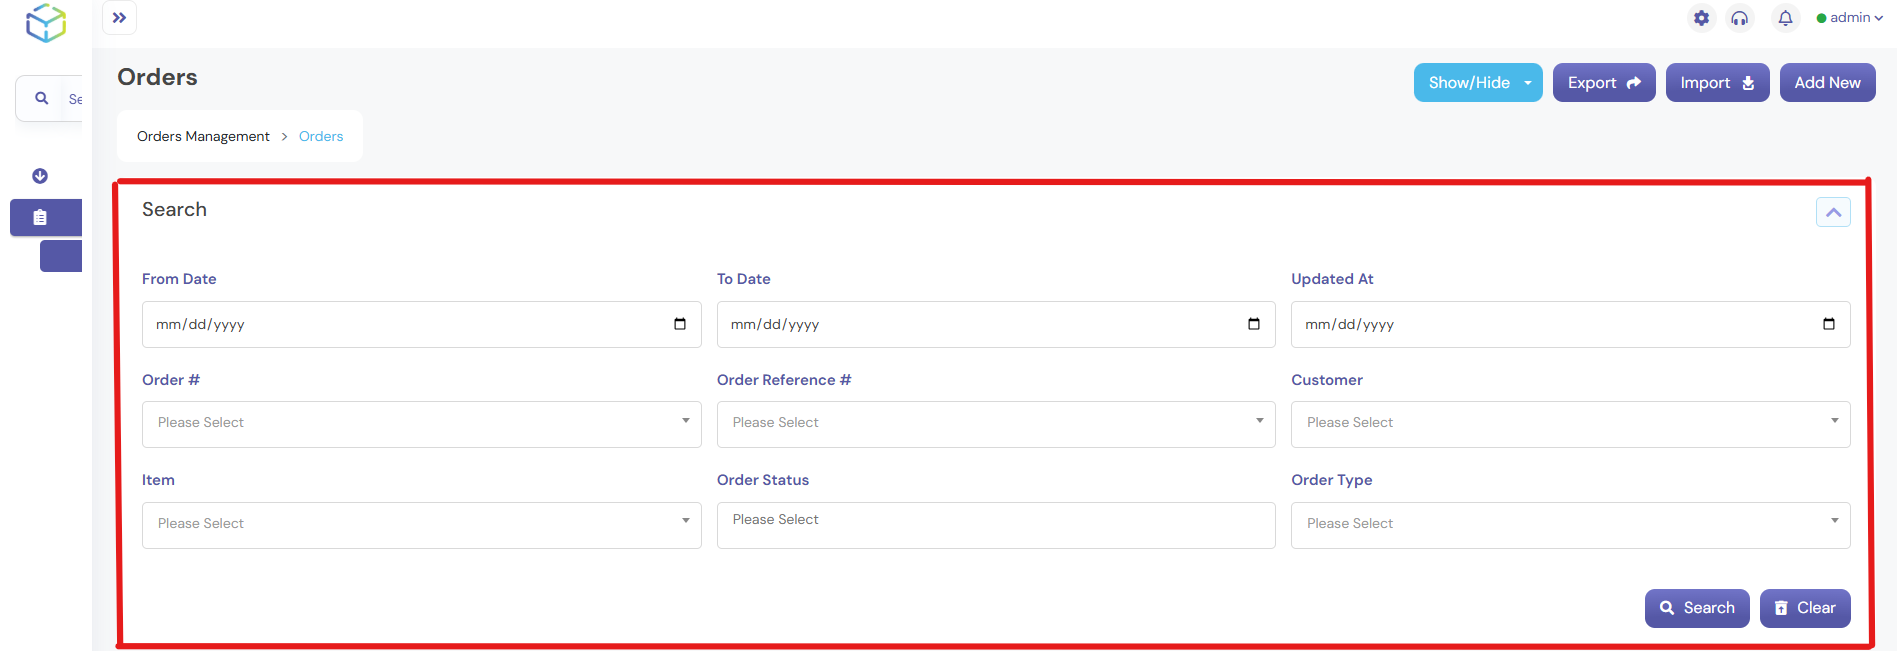
1. Accessing the Order for Processing
- Navigate to Order Management > Orders in the main menu, Click on the ” + ” Sign.
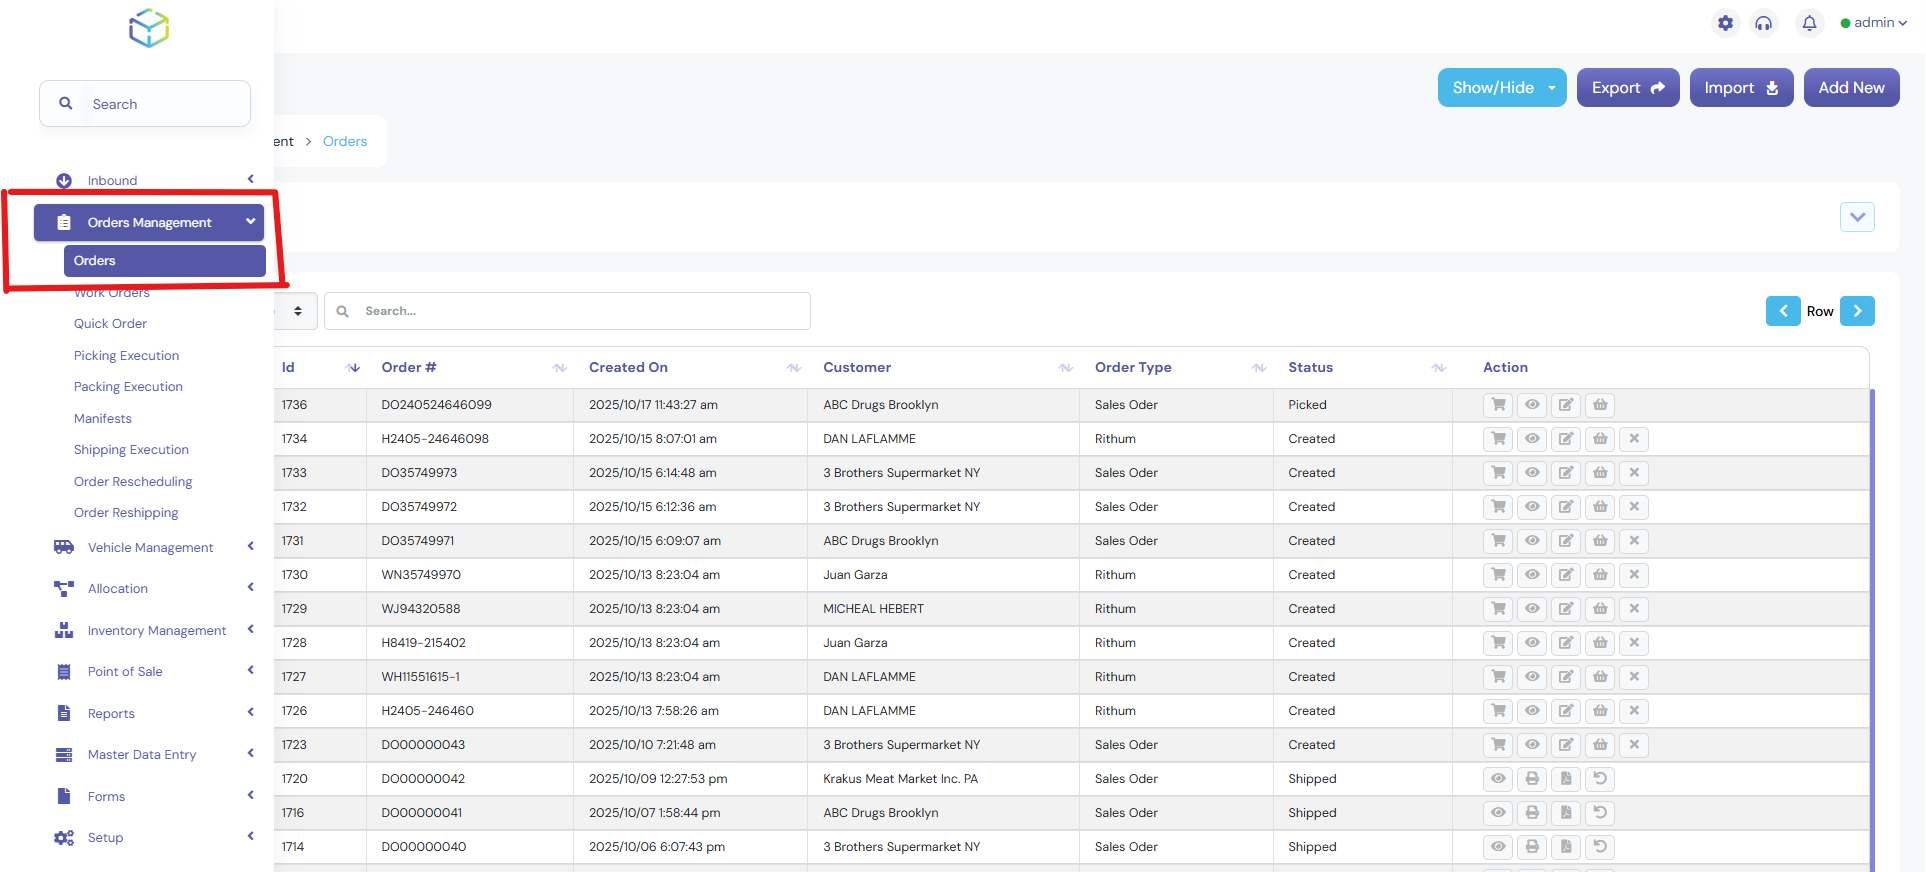
- You can find the order you’d like to process by copying the Order Number from the Order Listing Screen.
2. Running the Allocation
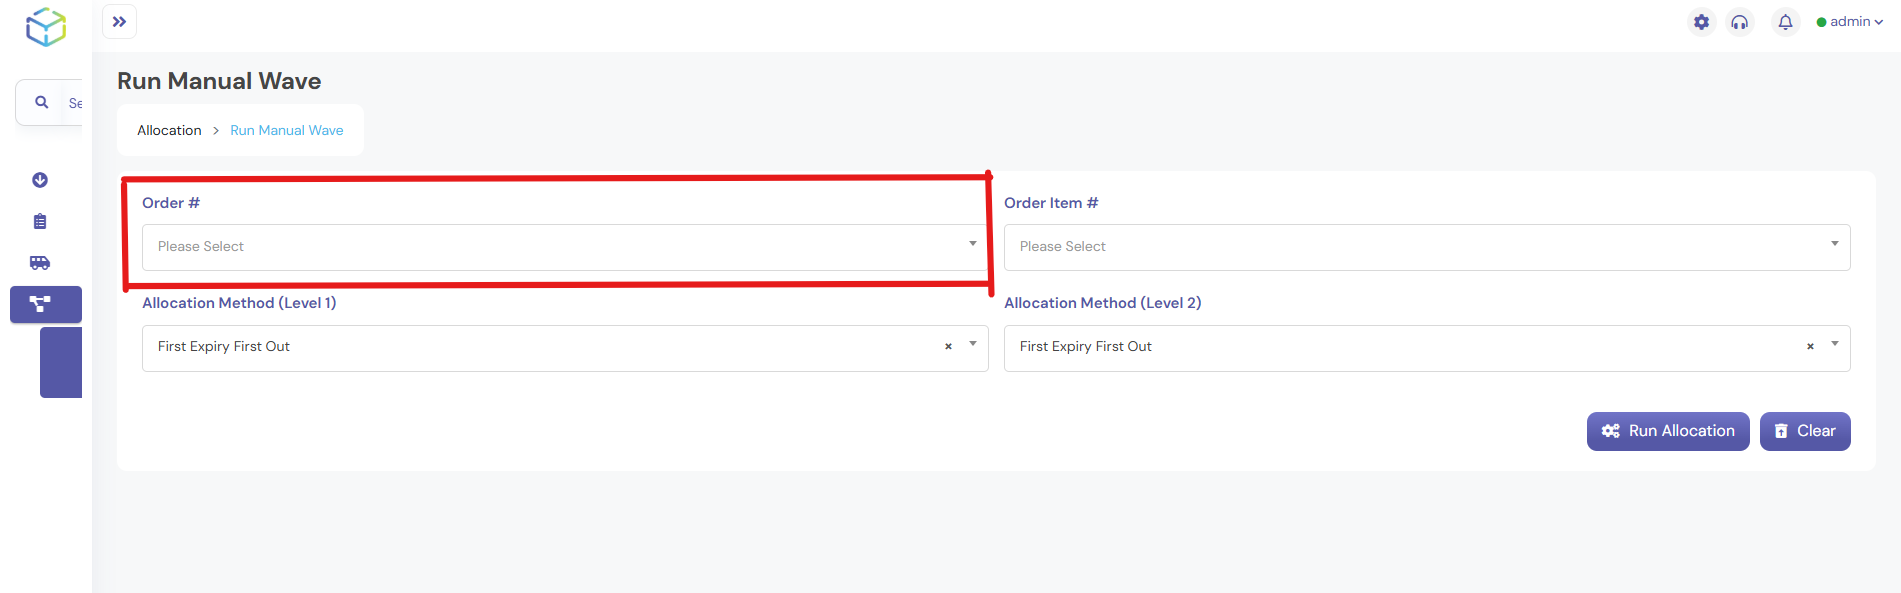
- Navigate to Allocation Menu > Run Manual Wave from sidebar
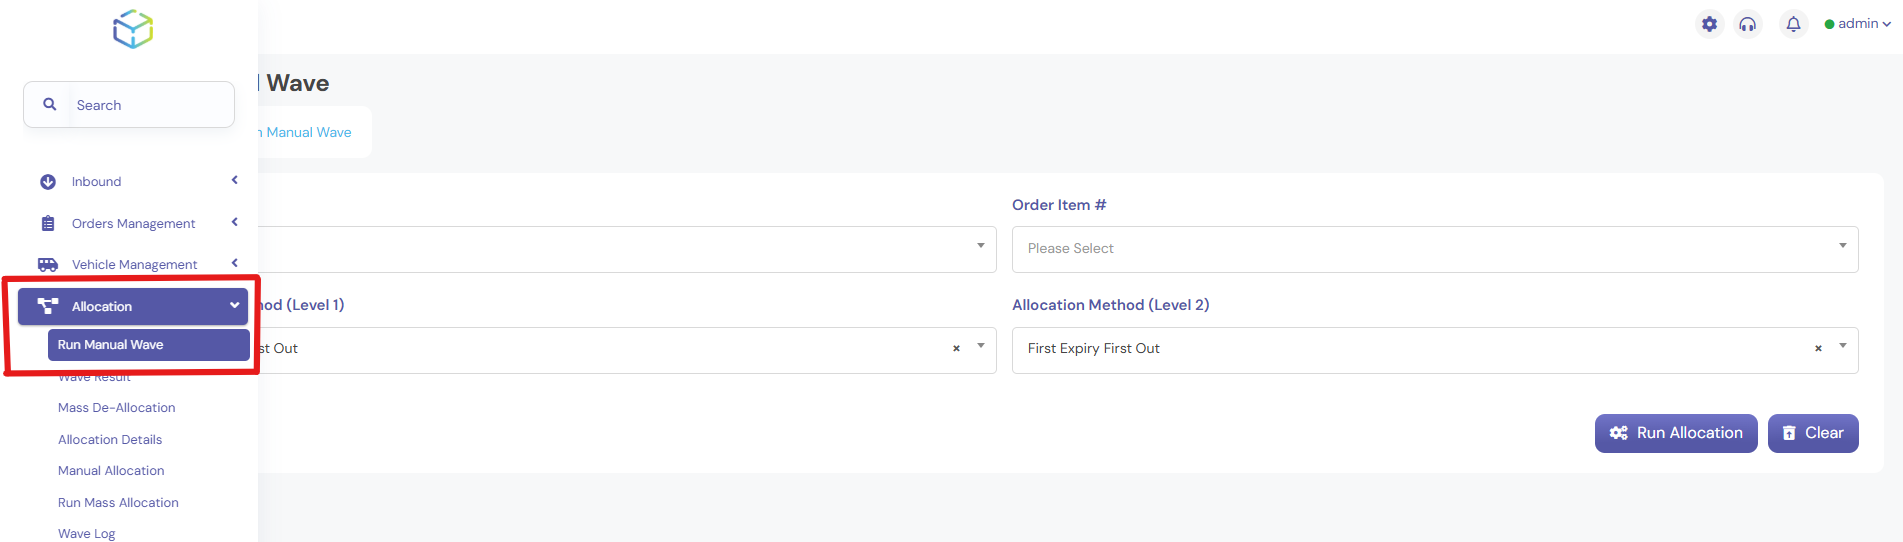
- Enter the copied Order Number in the Order # field.
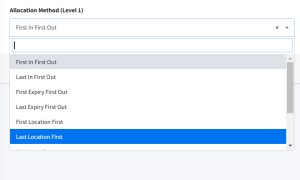
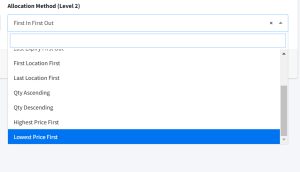
- Select the appropriate Allocation Method (e.g., First in First Out or Last in First Out).
- Click on the Run Allocation button.
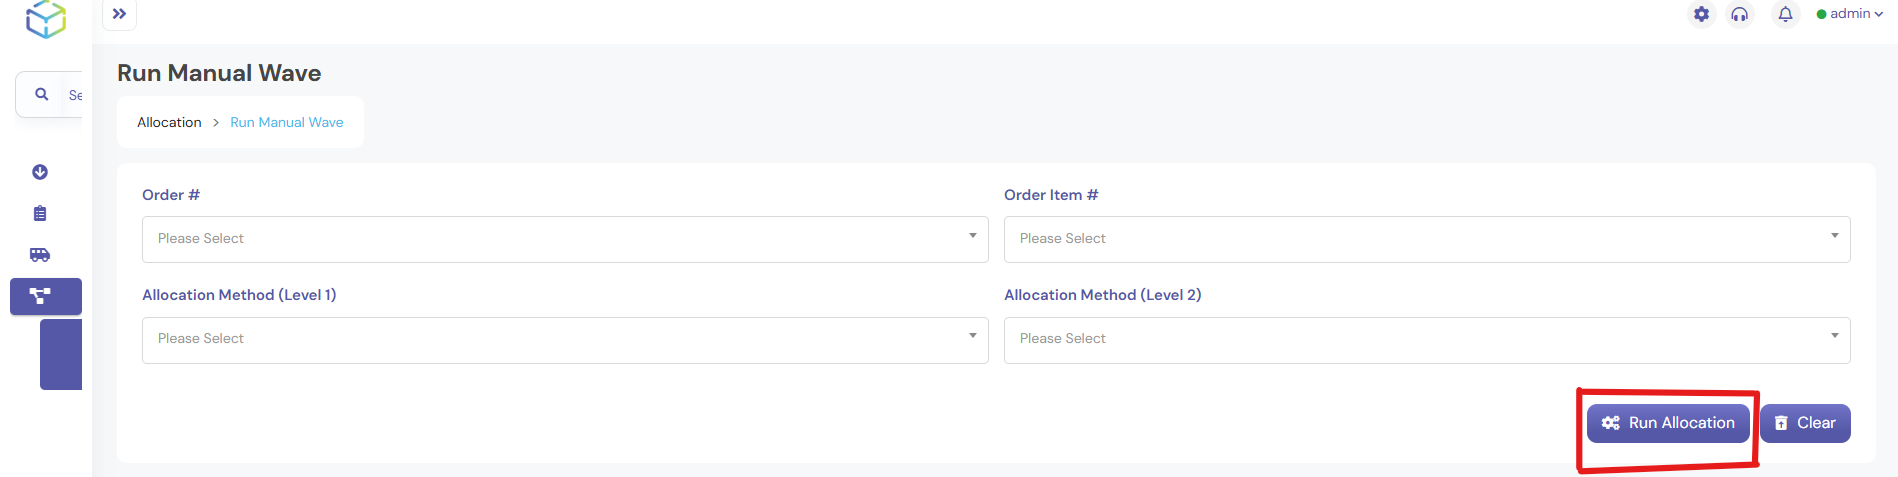
- A success notification will confirm that a wave number has been generated.
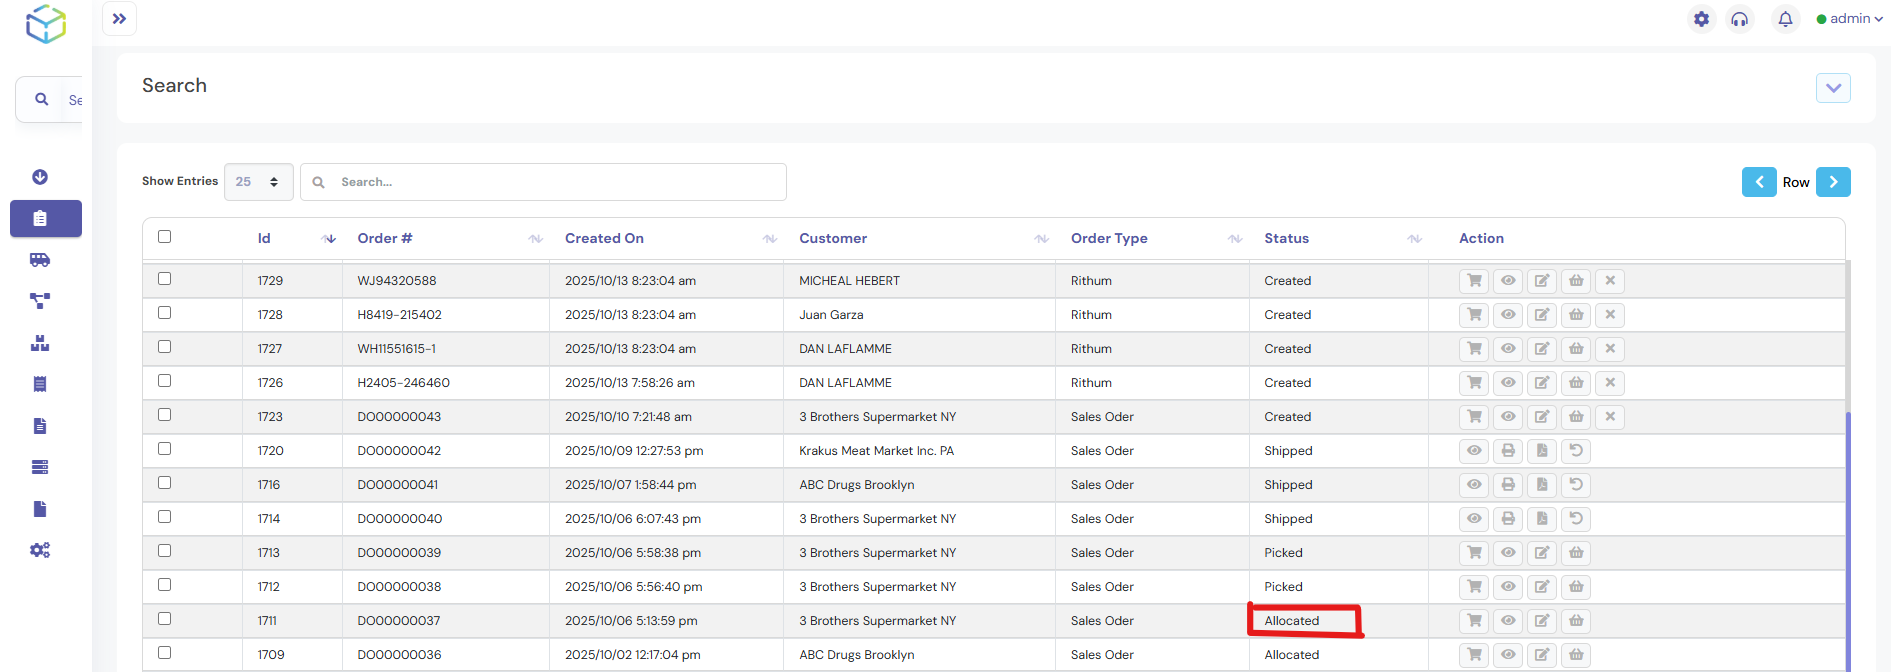
- Return to the Orders screen, where the order status will change from Created to Allocated.
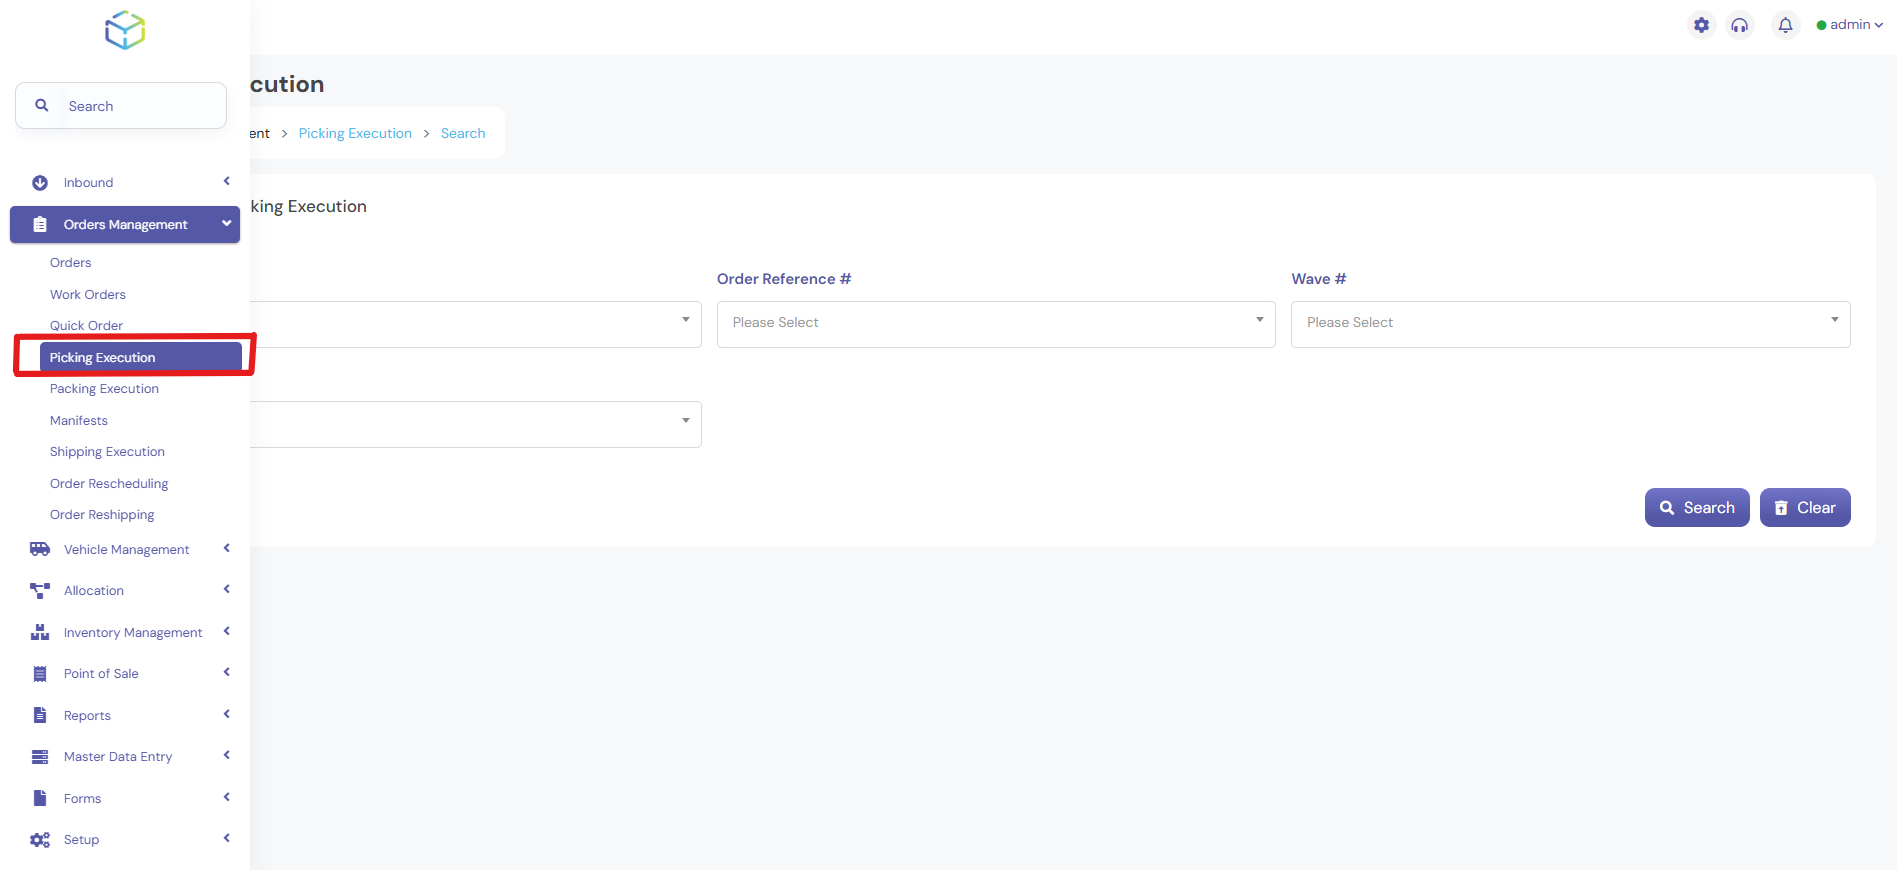
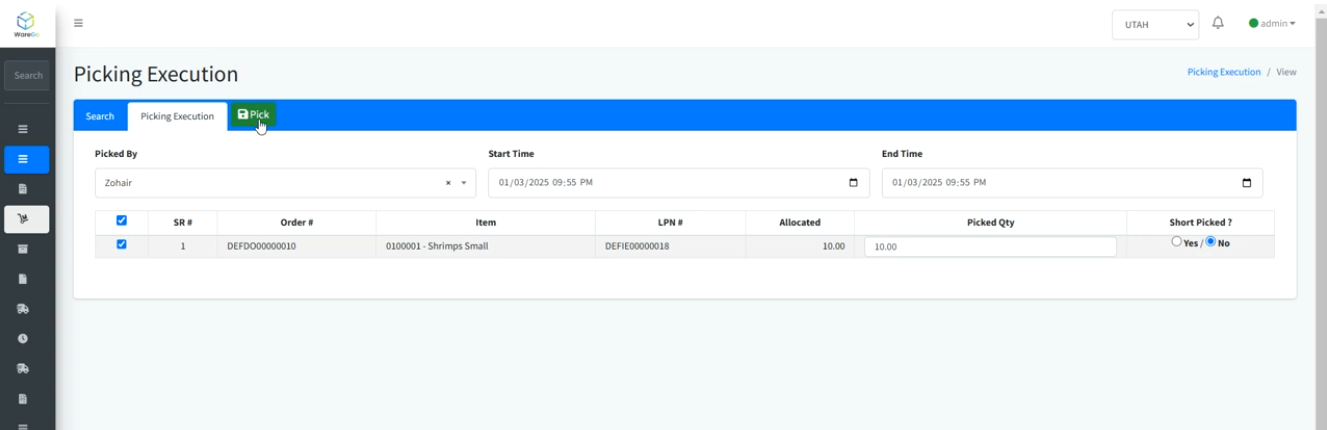
3. Picking Execution
- Navigate to Order Management > Picking Execution.
- Enter the Order Number and select the Wave Number.
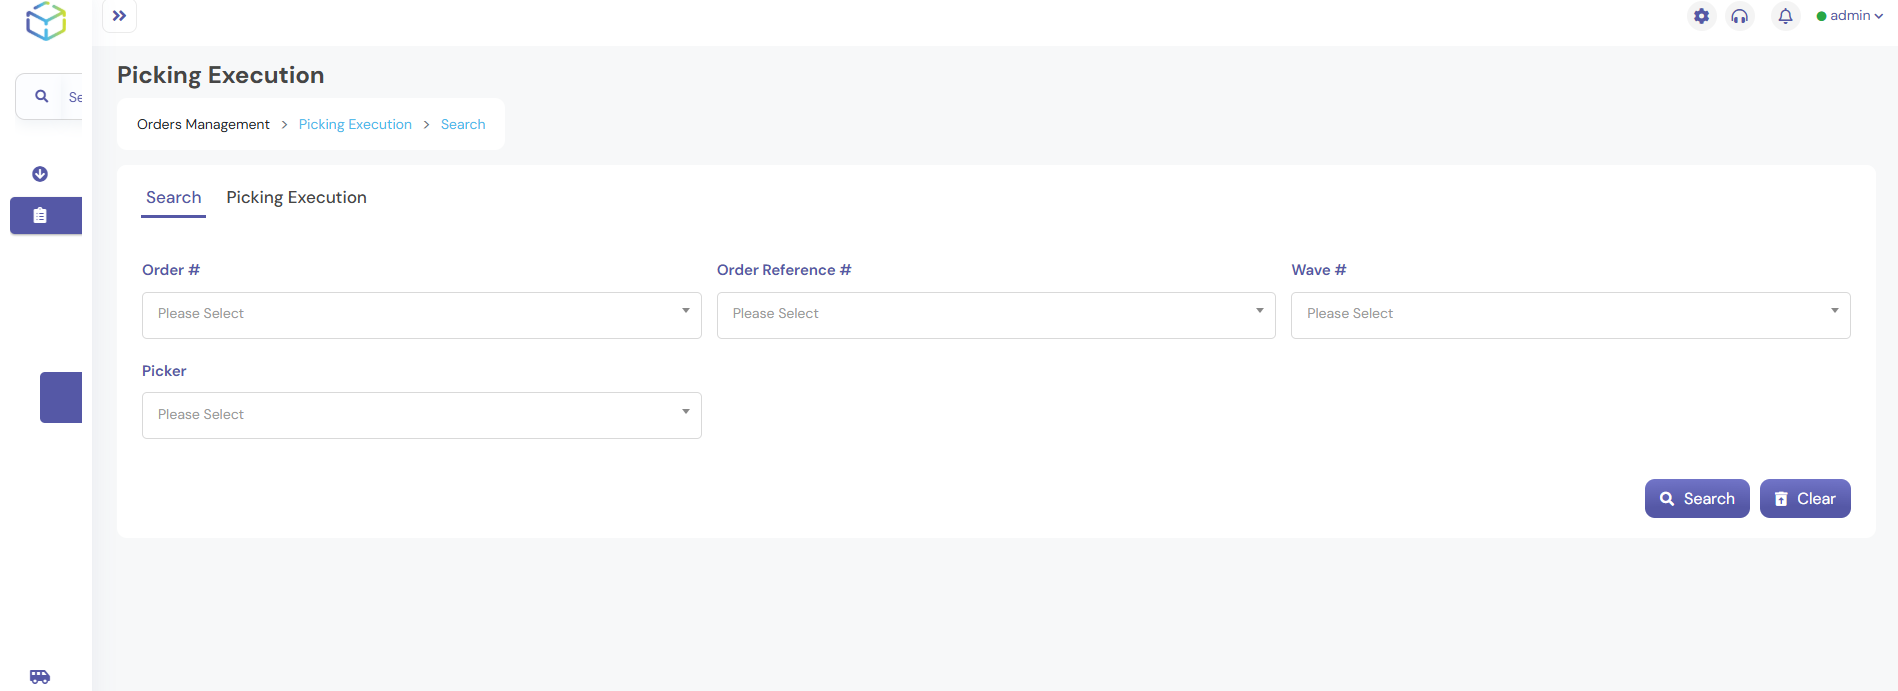
- Click on Search to display the order details.
- Select the Picker Name from the dropdown.
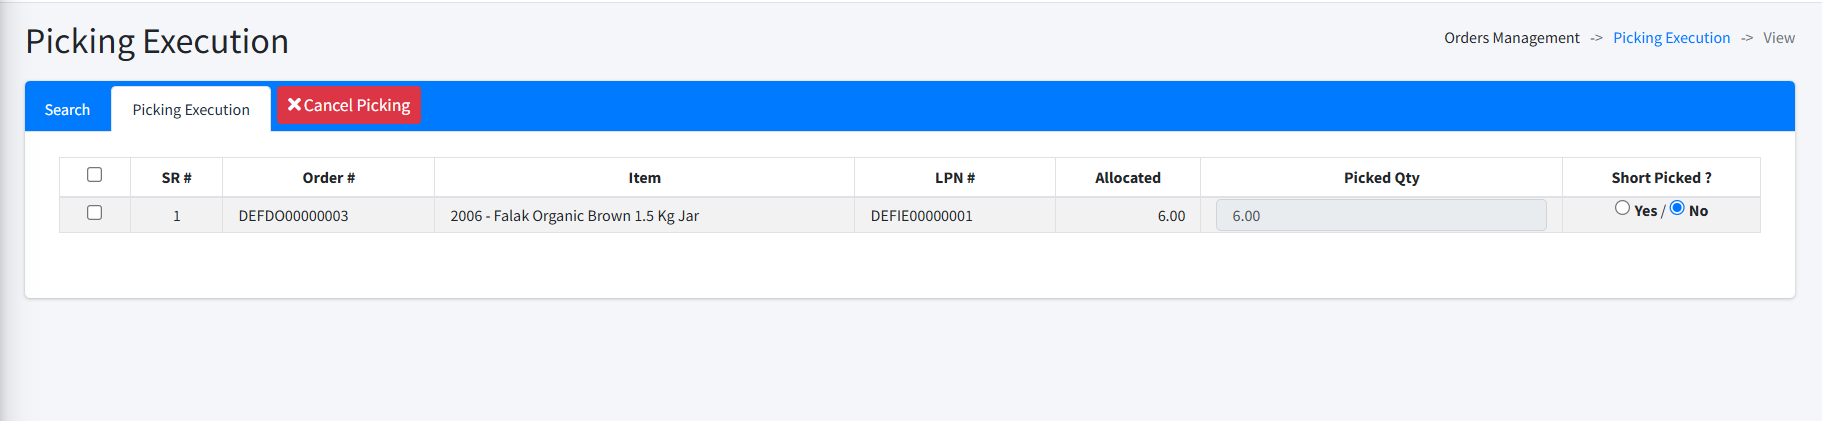
- Check the box next to the order to select it.
- Click on the Pick button (Green Button at the top).
- A success notification will confirm that the order has been picked up successfully.
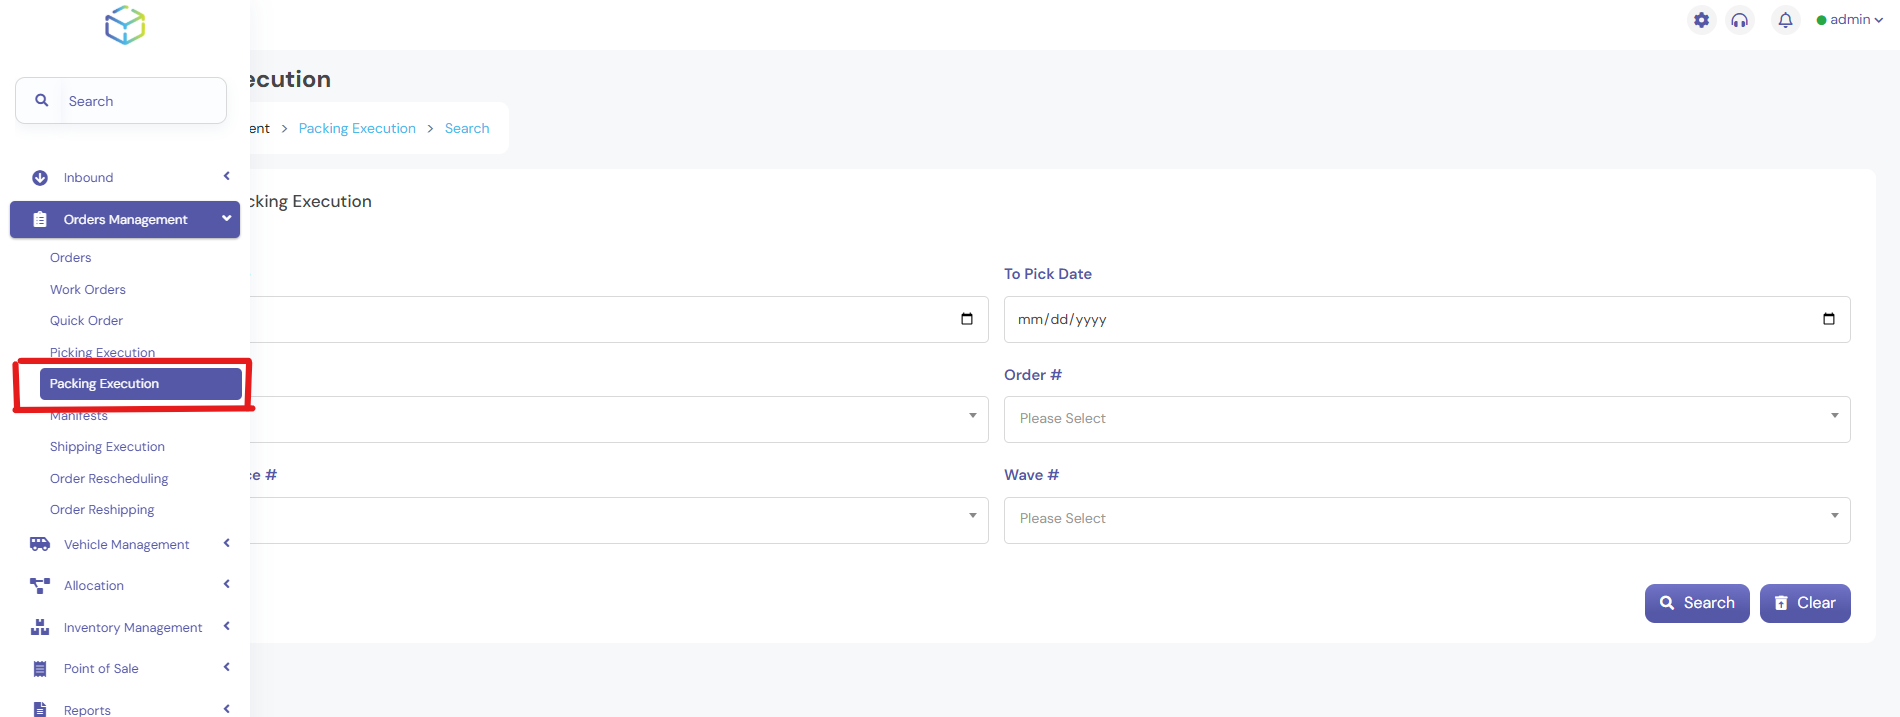
4. Packing Execution
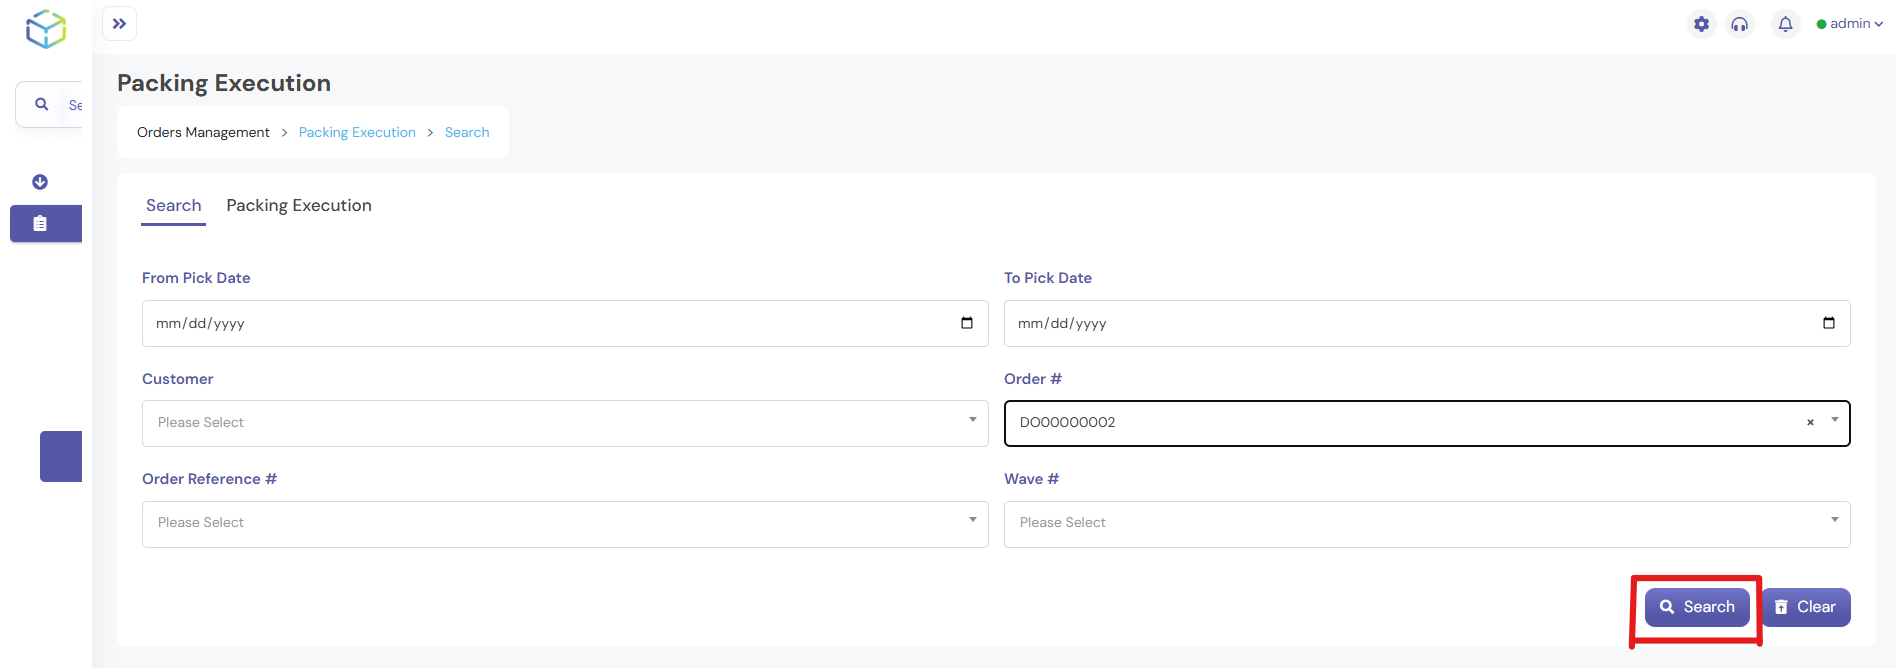
- Navigate to Order Management > Packing Execution.
- Enter the Order Number and click on Search.
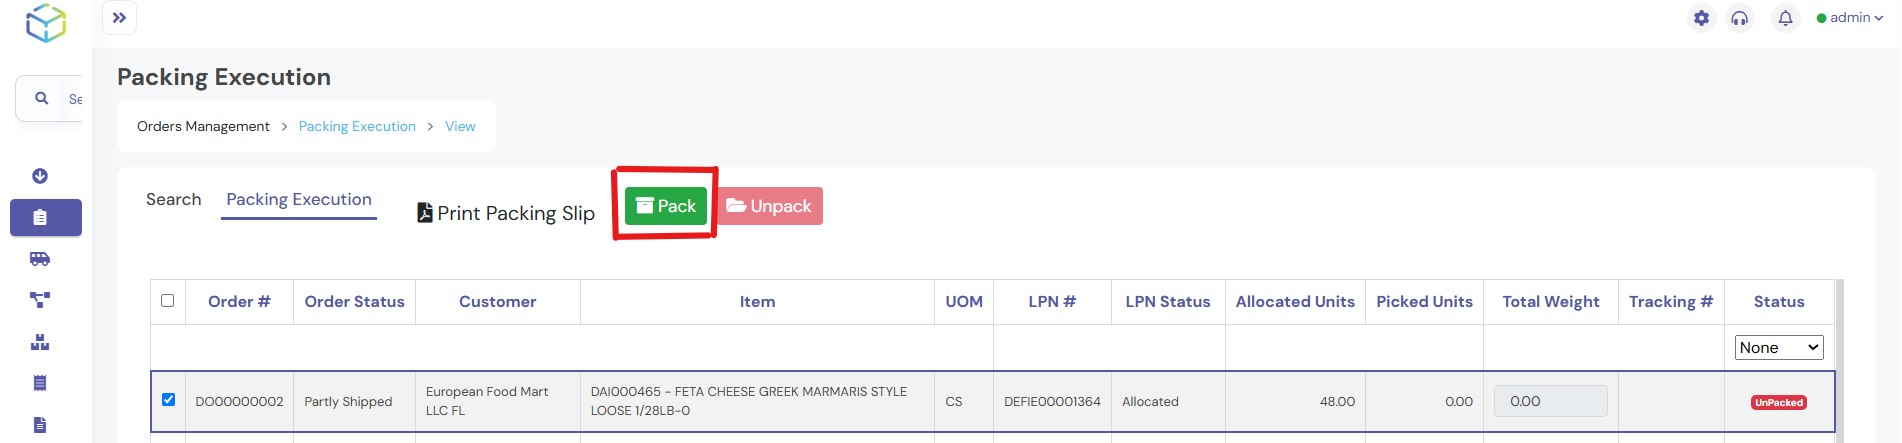
- Check the box next to the order to select it.
- Click on the Pack button ( Green button on the top )
- On the Pack Order Sub-Screen:

- Select the Courier from the dropdown list.
- The system will auto-populate the Service Type and Package Type.
- Enter the Weight of the package.
- Click on Submit to complete the packing process.

- The system will automatically pack the order and update its status.
5. Shipping Execution
- Navigate to Order Management > Shipping Execution.
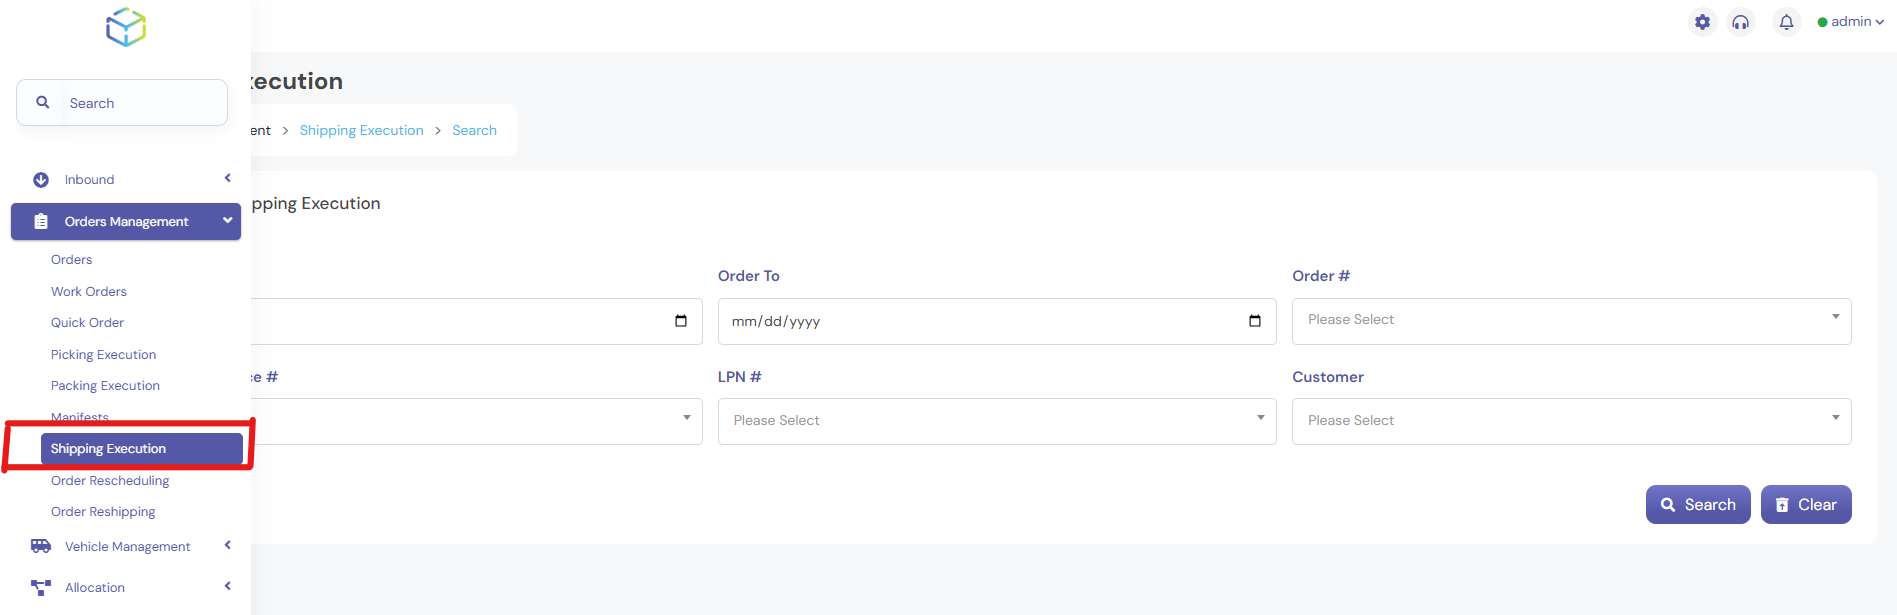
- Enter the Order Number and click on Search.
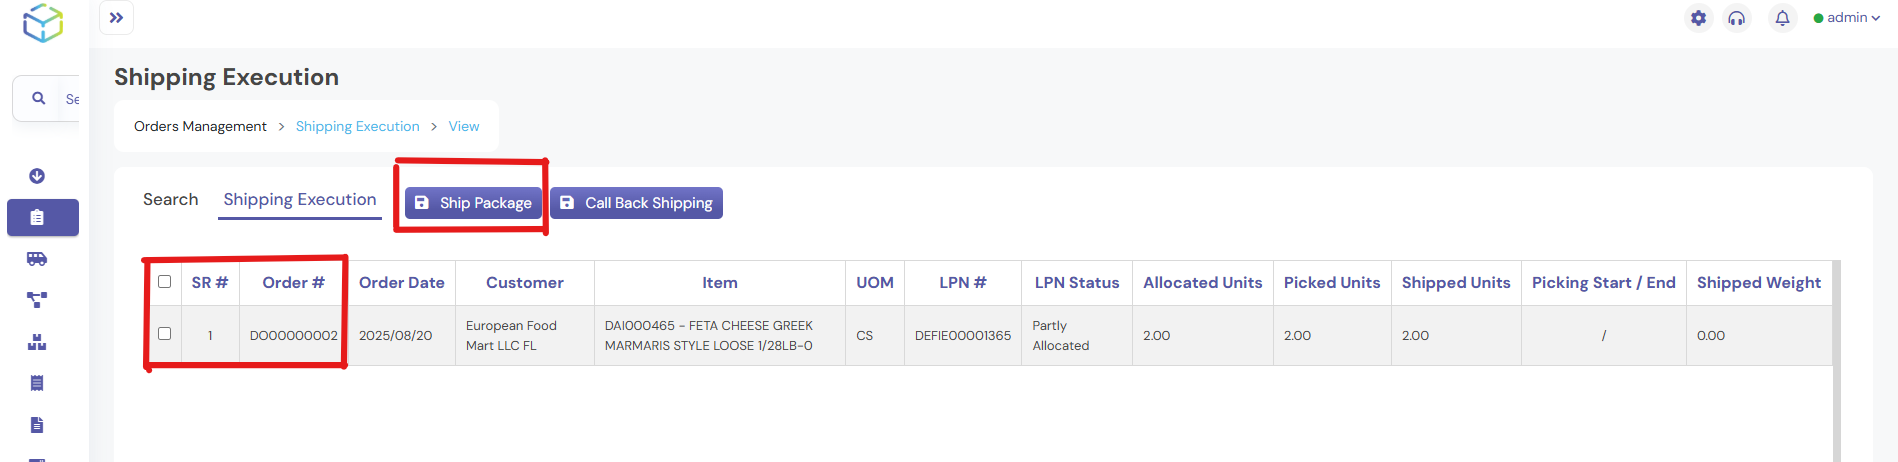
- Review the order details, including Order Number, Order Date, and Customer Information.
- Check the box next to the order to select it.
- Click on the Ship Package button (Green Button at the top).
- A success notification will confirm that the order has been marked as Shipped successfully.
6. Verifying the Order Status
- Go back to Order Management > Orders to verify the status.
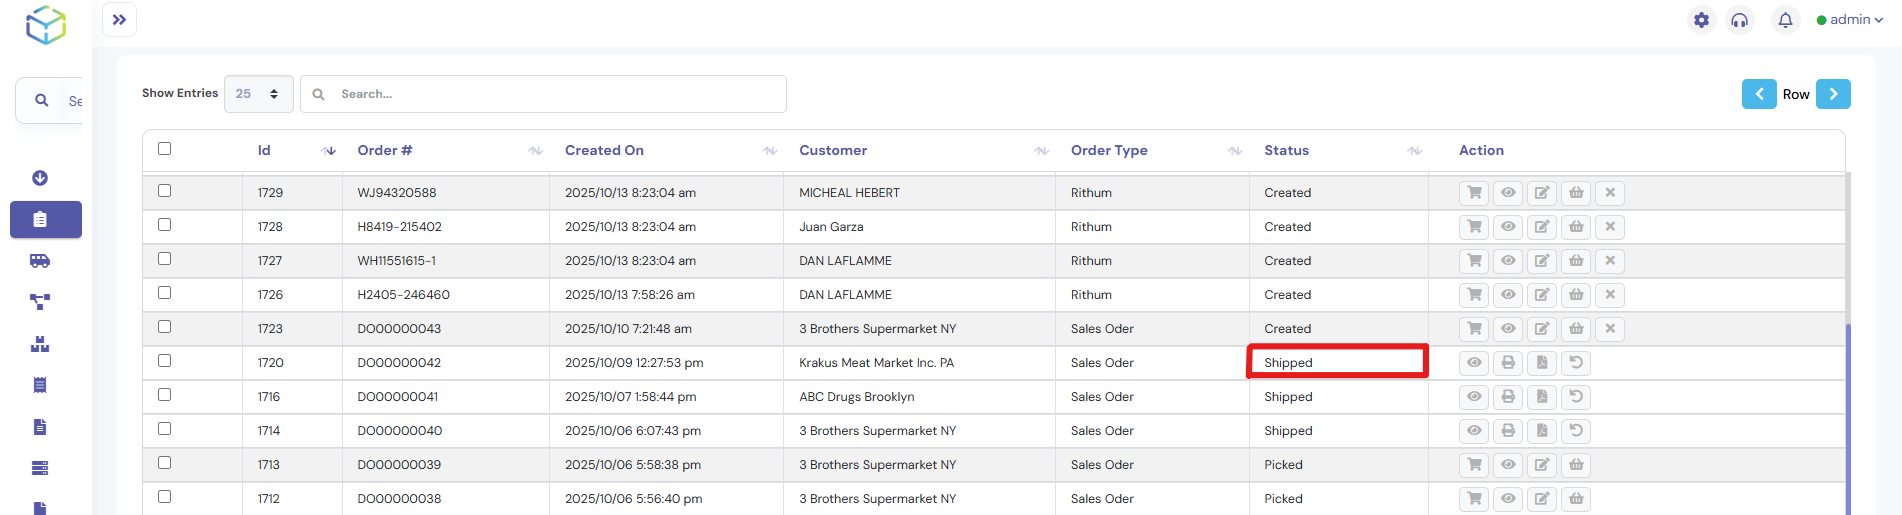
- The status should now show as Shipped.
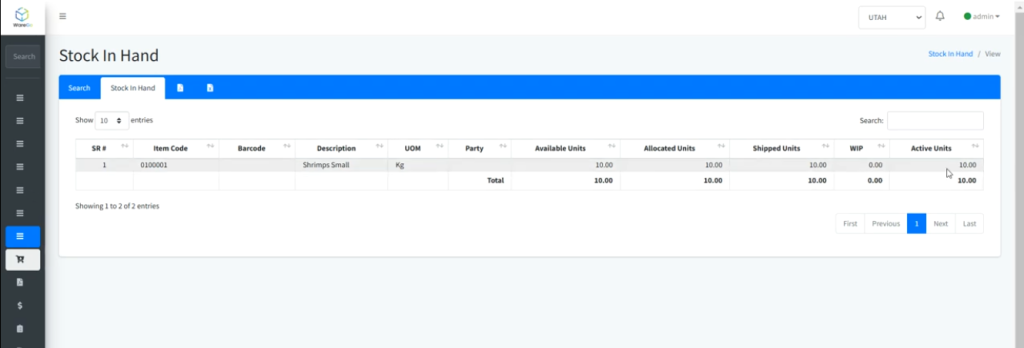
7. Checking Inventory Updates
- Navigate to the Stock In Hand Report from the sidebar.
- Enter the Item Details and click on Search.

- The system will display the updated item quantity, reflecting the deduction for the shipped order.