Creating Categories by using WareGo
1. Head Over to Master Data Entry Section
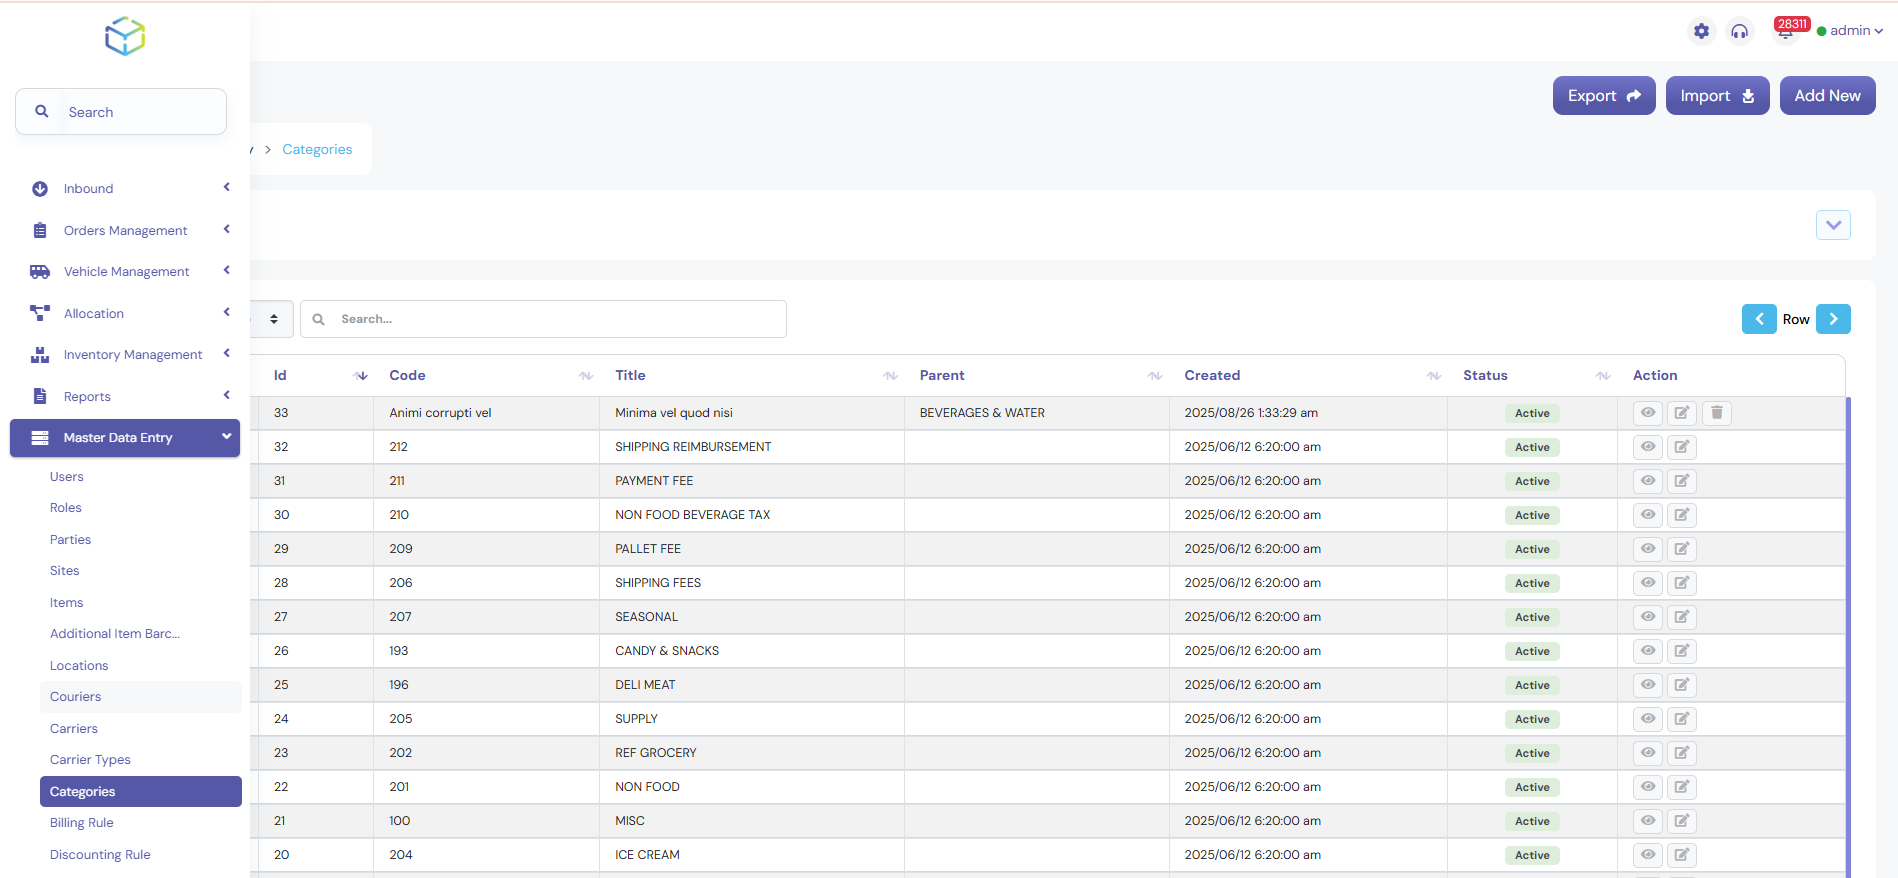
- From the main menu on the left-hand side, click on Master Data Entry.
- Click on Categories from the options under Master Data Entry.
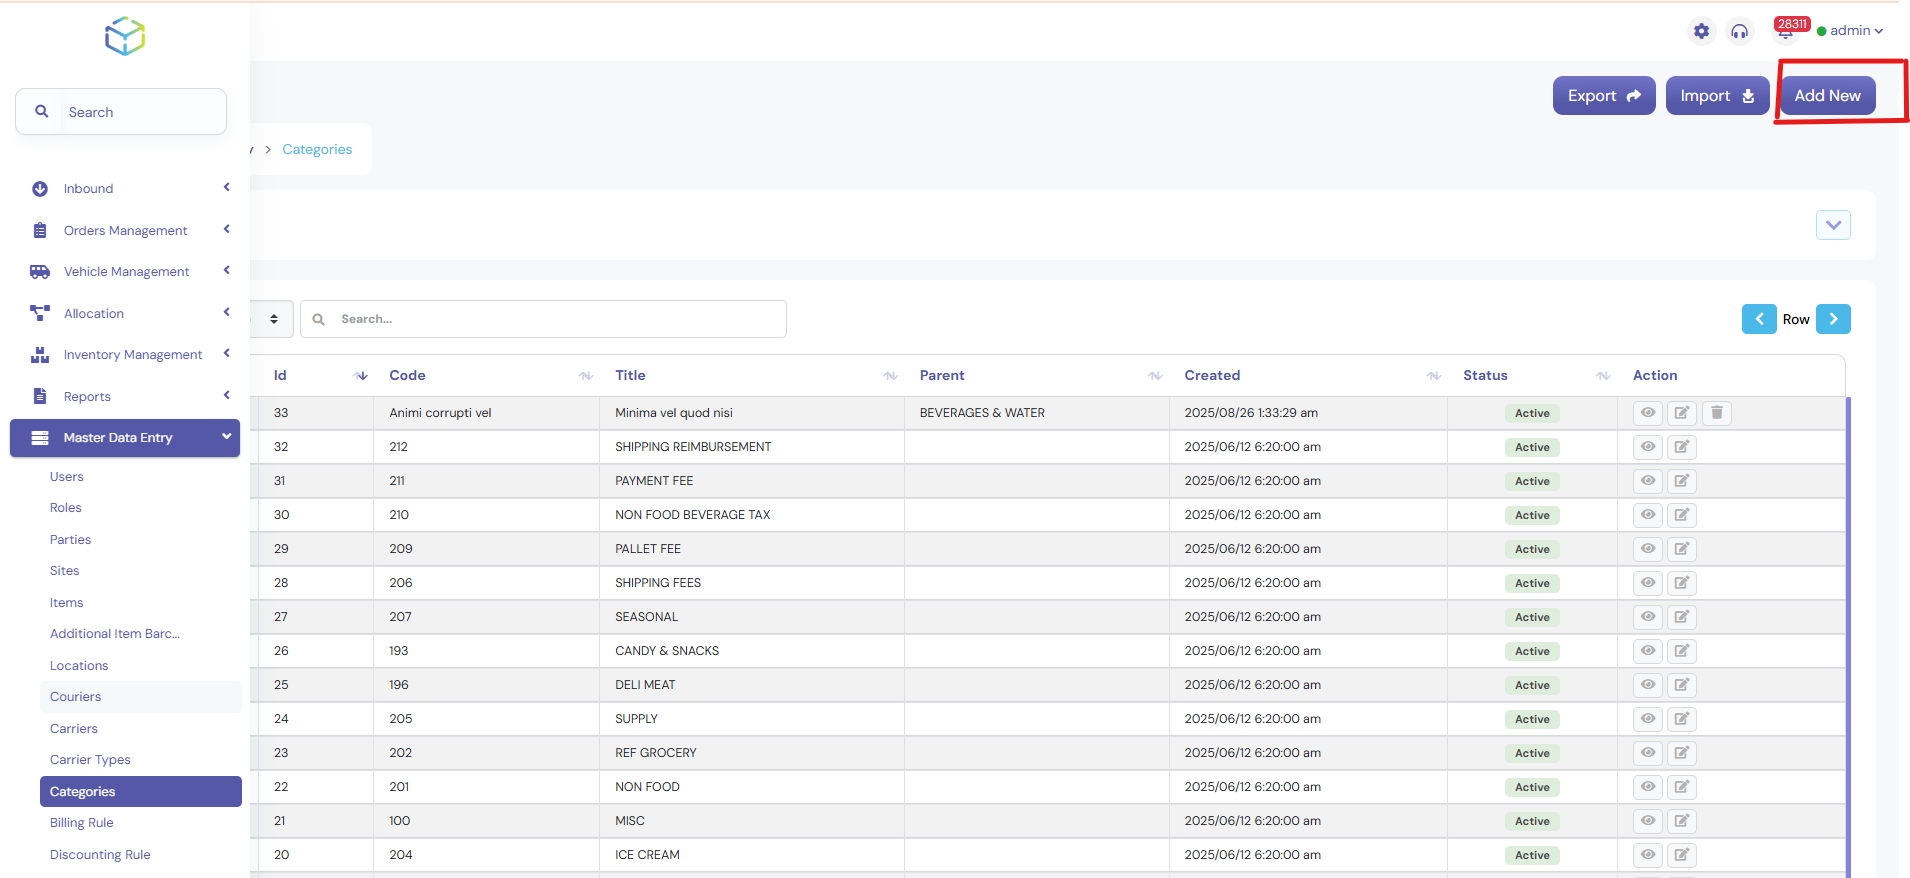
2. Add a New Category
- Click on the Add New button to create a new category.
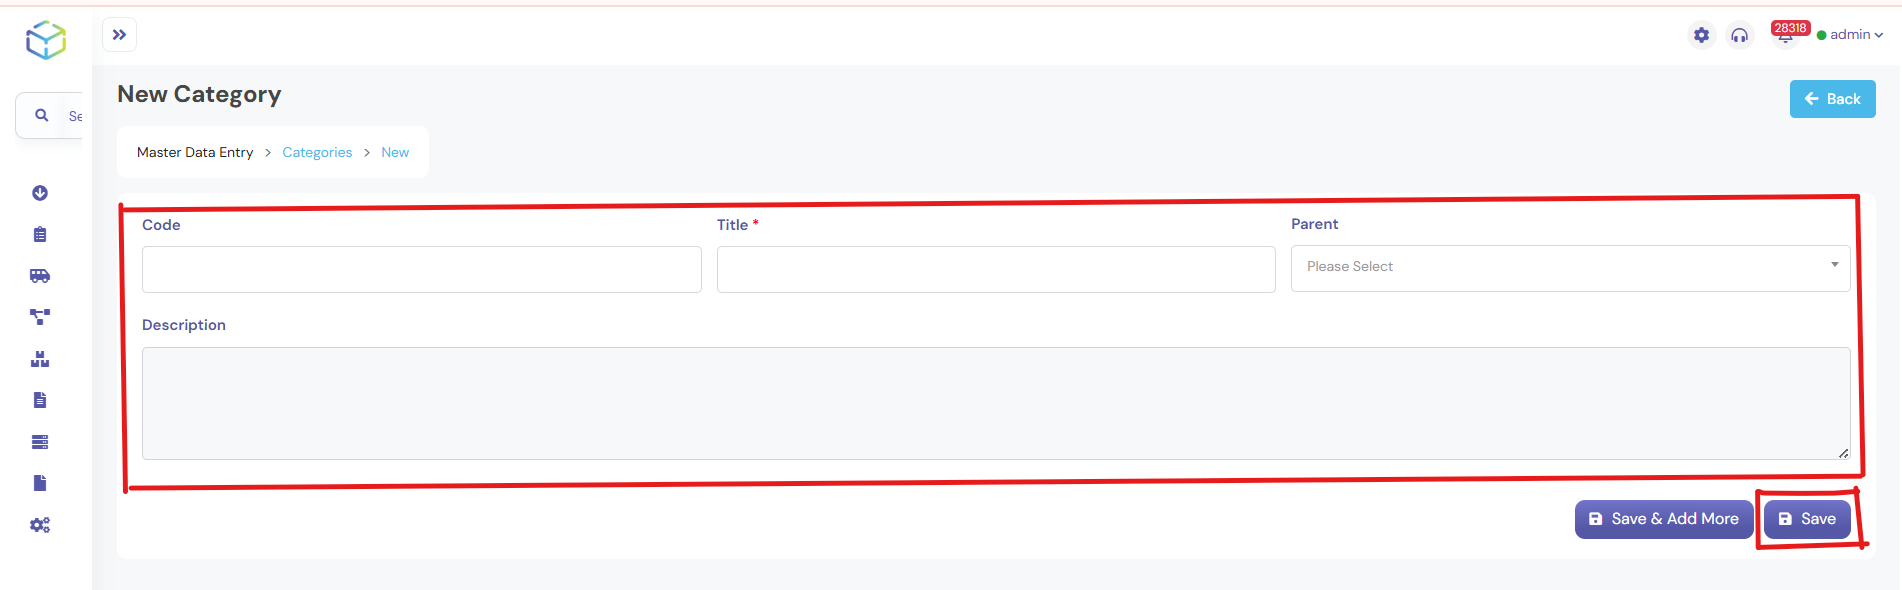
3. Now Fill in The Category Details
- Enter the name of the category in “Title”.
- Give a brief description of the category (this is optional but recommended).
- Then click on save to finalize your new category.
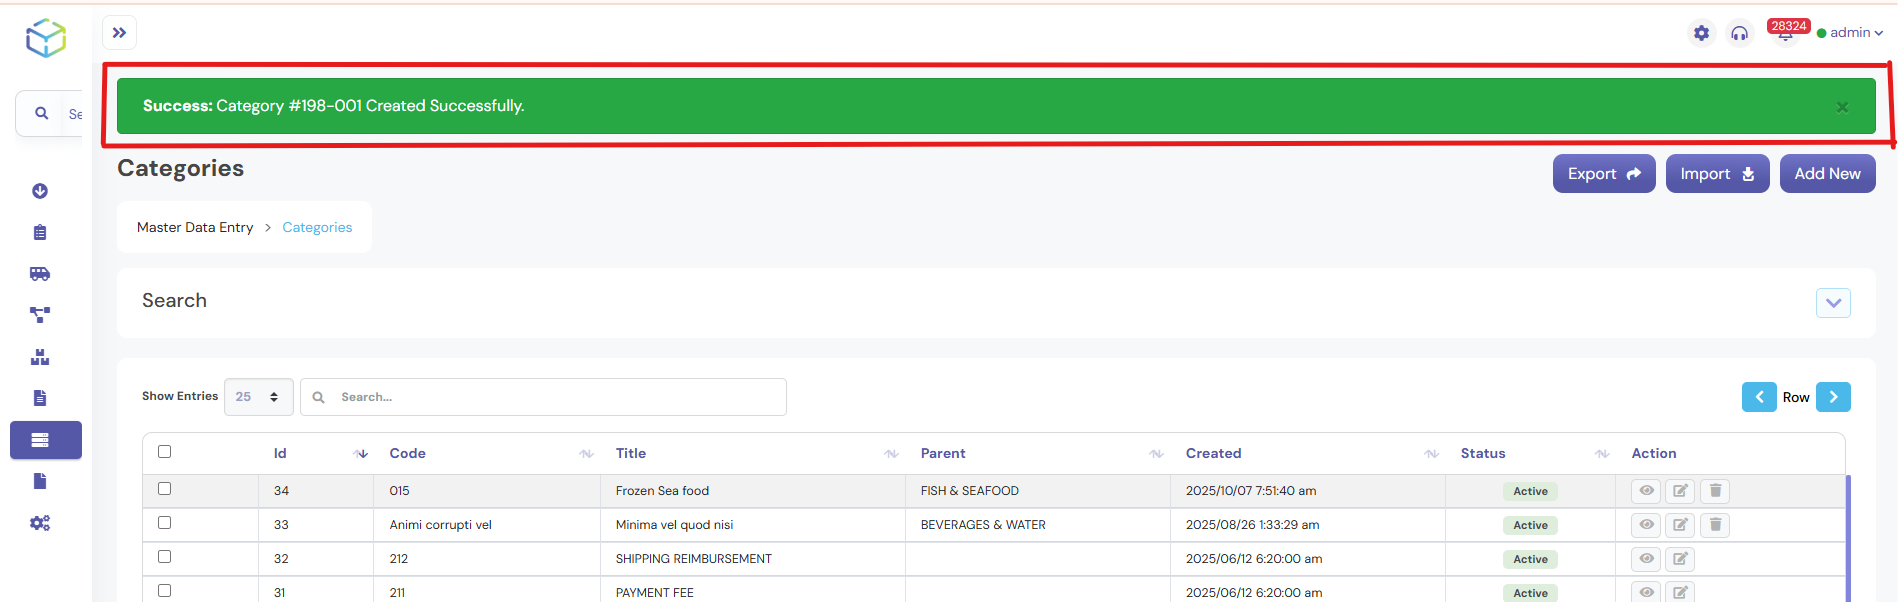
5. Confirmation Status
- Your new category will appear in the list of existing categories.