Creating Items by using WareGo
1. Accessing the Item Creation Screen
- Navigate to Main Sidebar Menu > Master Data Entry > Items.
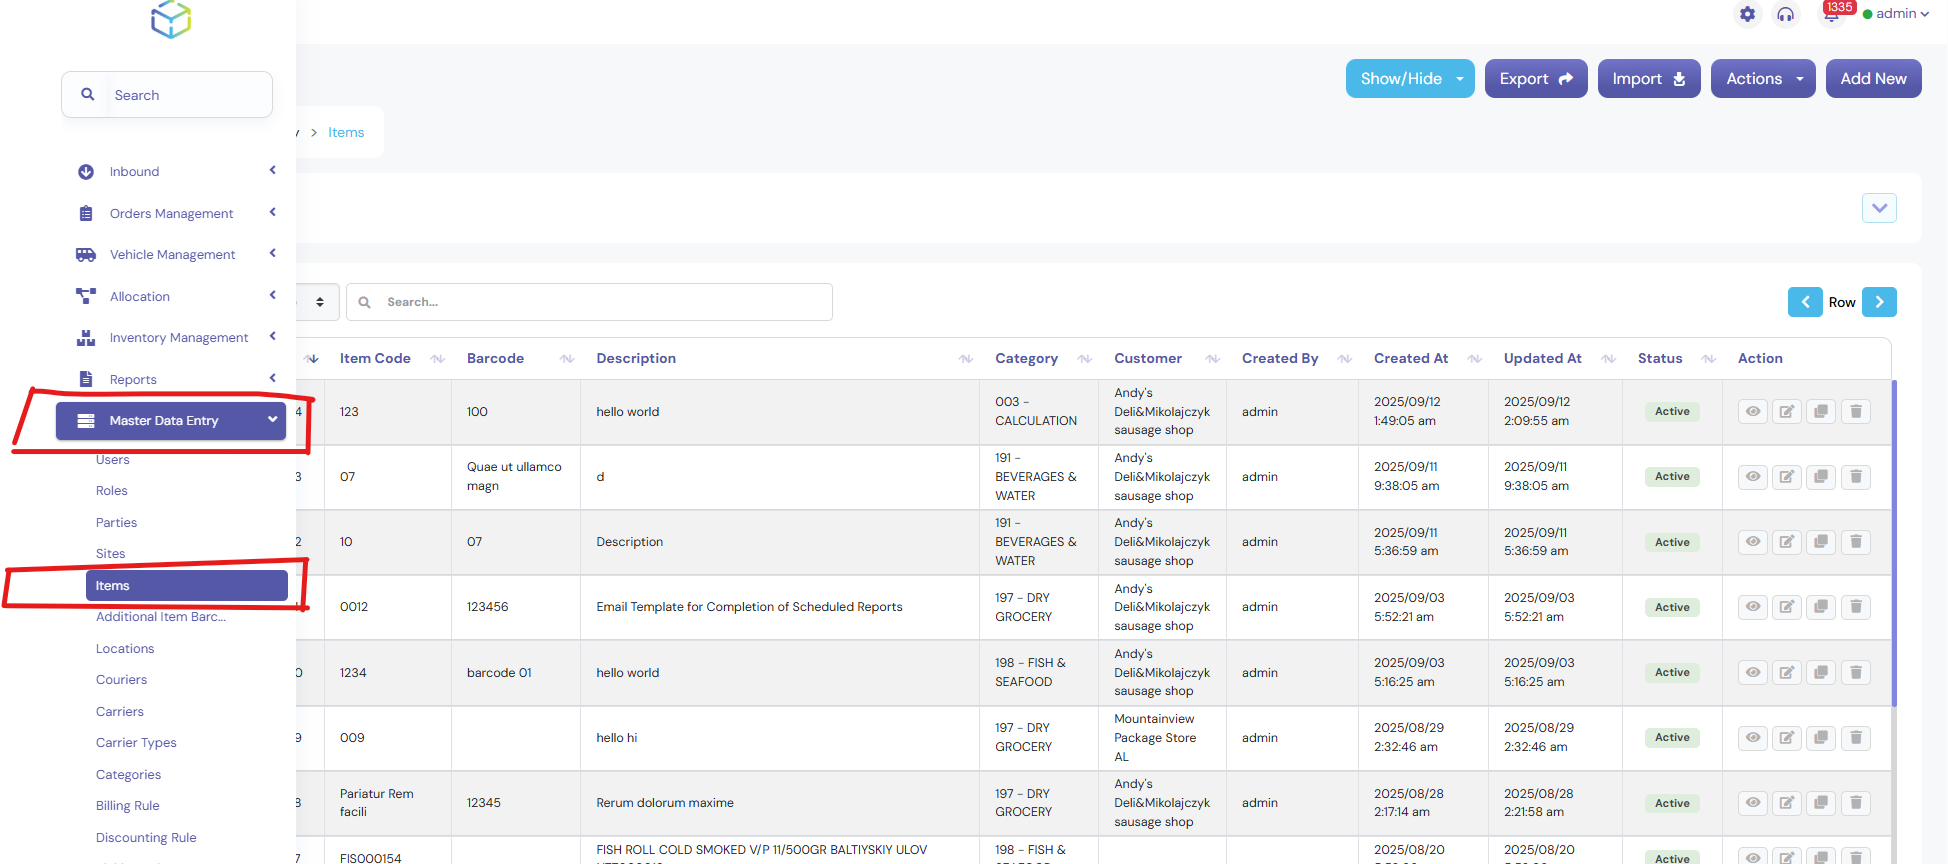 The Items Listing Screen will appear, displaying all the previously defined items in the system.
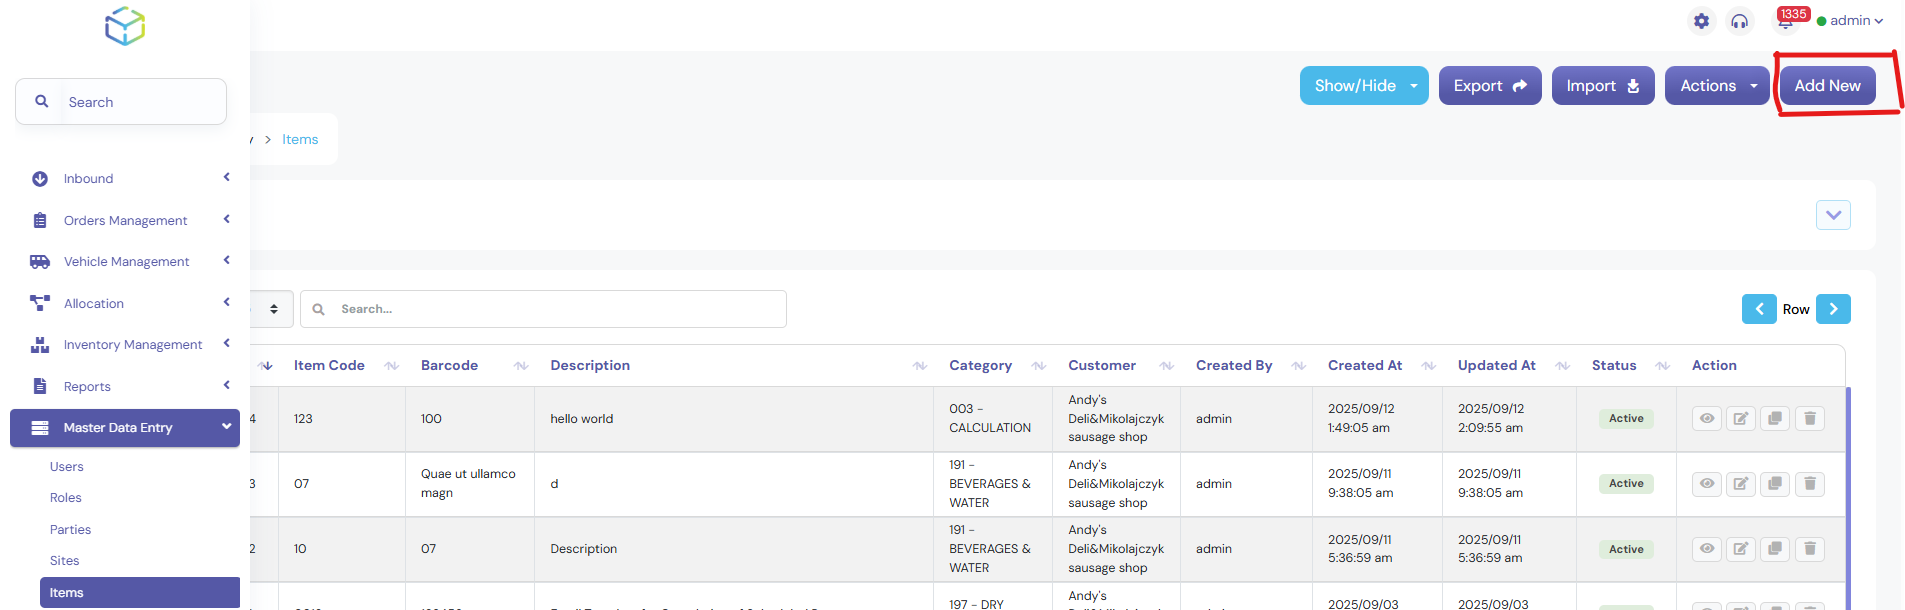
2. Adding a New Item
- Click on the Add New button in the screen’s top-right corner.
3. Filling in Basic Item Details

Complete the following fields:
- Item Code: Enter the unique code for the item.
- Barcode: Enter the barcode number (if applicable).
- Description: Describe the item.
- Facility: Select the relevant facility from the dropdown menu.
- Customer: Select the appropriate customer from the dropdown menu.
- Category: Choose the category from the dropdown menu.
- Put away Type: Select the put away type from the dropdown menu.
- Status: Choose the status from the dropdown menu.
- Attach a Picture: Click Choose Files and upload the image of the item.
4. Adding Item Dimensions

Enter the following physical dimensions for the item:
- Weight
- Volume
- Length
- Width
- Height
5. Defining Inventory Attributes
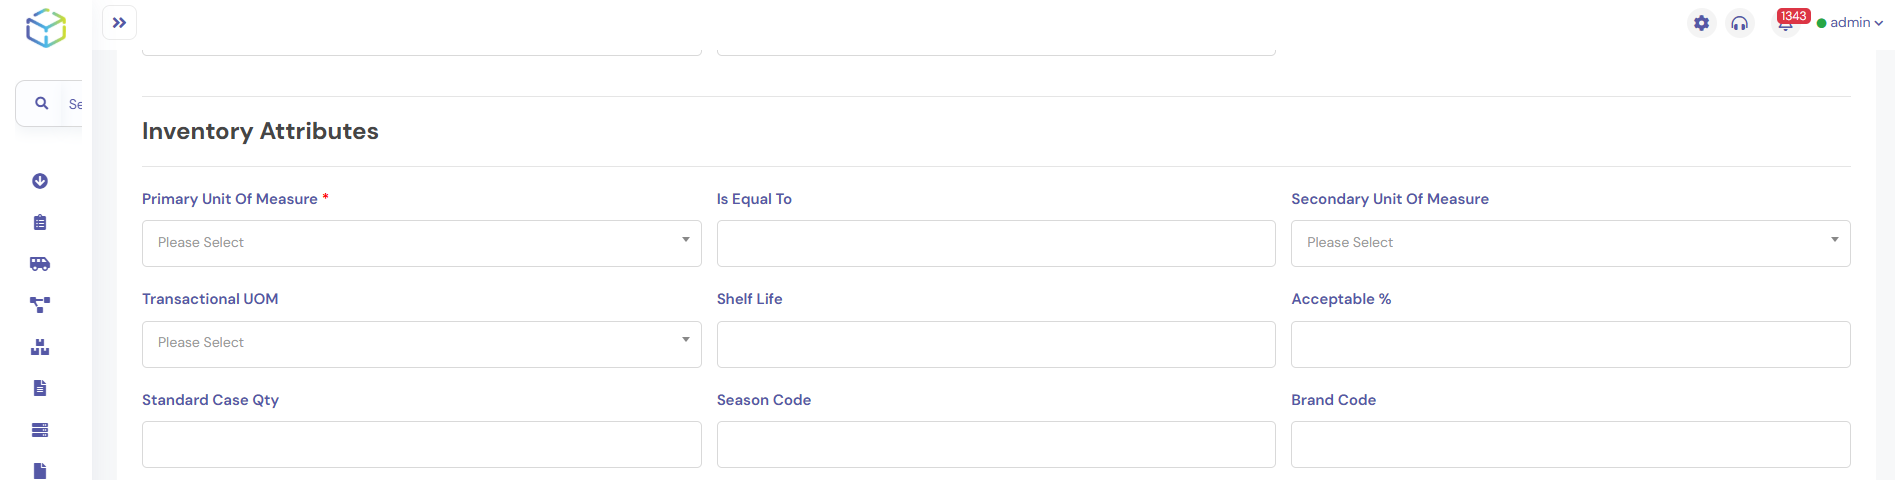
Add the following inventory-related attributes:
- Primary Unit of Measure: Select from the dropdown.
- Secondary Unit of Measure: Select from the dropdown.
- Transactional OUM: Select from the dropdown.
- Shelf Life: Enter the shelf life (if applicable).
- Acceptable %: Enter the acceptable percentage for the item.
- Storage Temperature: Specify the required storage temperature.
- Standard Case Quantity: Enter the standard case quantity.
- Season Code: Provide a season code (if applicable).
6. Setting Additional Requirements

Select Yes or No for the following settings:
- Require Batch & Expiry: Specify if batch and expiry dates are required.
- Require Serial No.: Specify if a serial number is required.
- Hazardous: Specify if the item is risky.
- Virtual Item: Specify if the item is virtual.
- QC Enabled: Specify if quality control is enabled for the item.
- Can Be Returned: Specify if the item can be returned.
7. Entering Selling Attributes
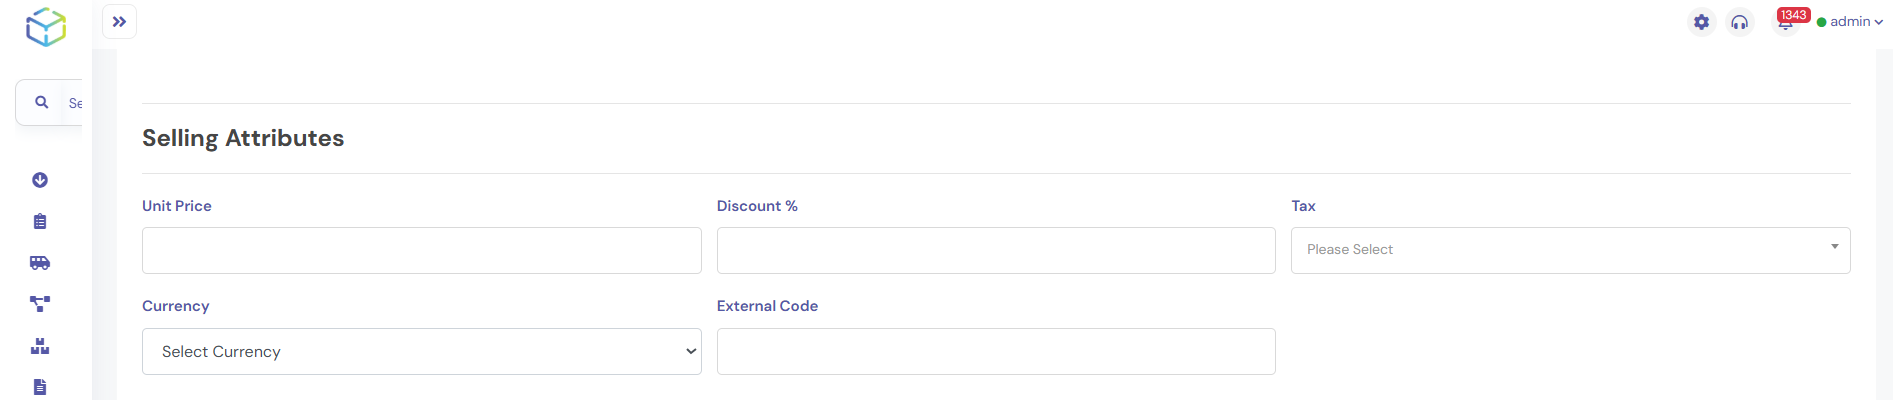
Enter the following selling-related details:
- Unit Price: Enter the unit price of the item.
- Discount %: Enter any applicable discount percentage.
- Tax: Specify the tax rate or amount.
- Currency: Select the appropriate currency from the dropdown menu.
- External Code: Enter any external code associated with the item (if applicable).
8. Adding Billing Information
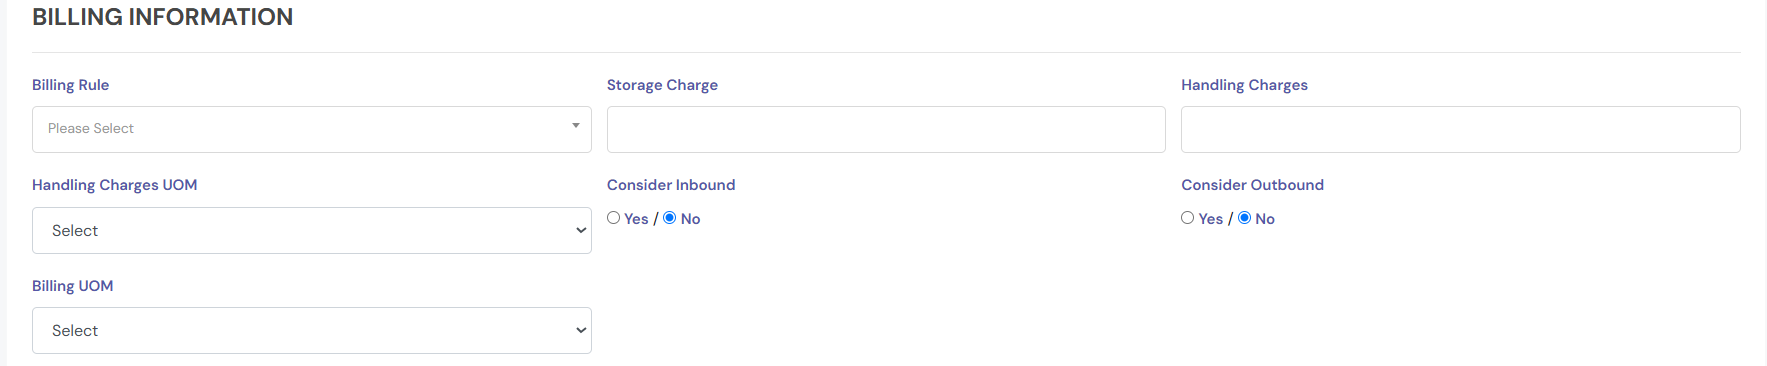
Add the following billing-related details:
- Billing Rule: Select the relevant billing rule from the dropdown.
- Billing Rate: Enter the billing rate associated with the item.
9. Saving the Item
- Click on the Save button to save the newly created item.

- A success notification will appear, confirming that the item has been created successfully.