Creating Inbound Shipments by using WareGo.
1. Navigating to the Inbound Shipment Screen
- Navigate to Main Sidebar Menu > Inbound > IB Shipment.
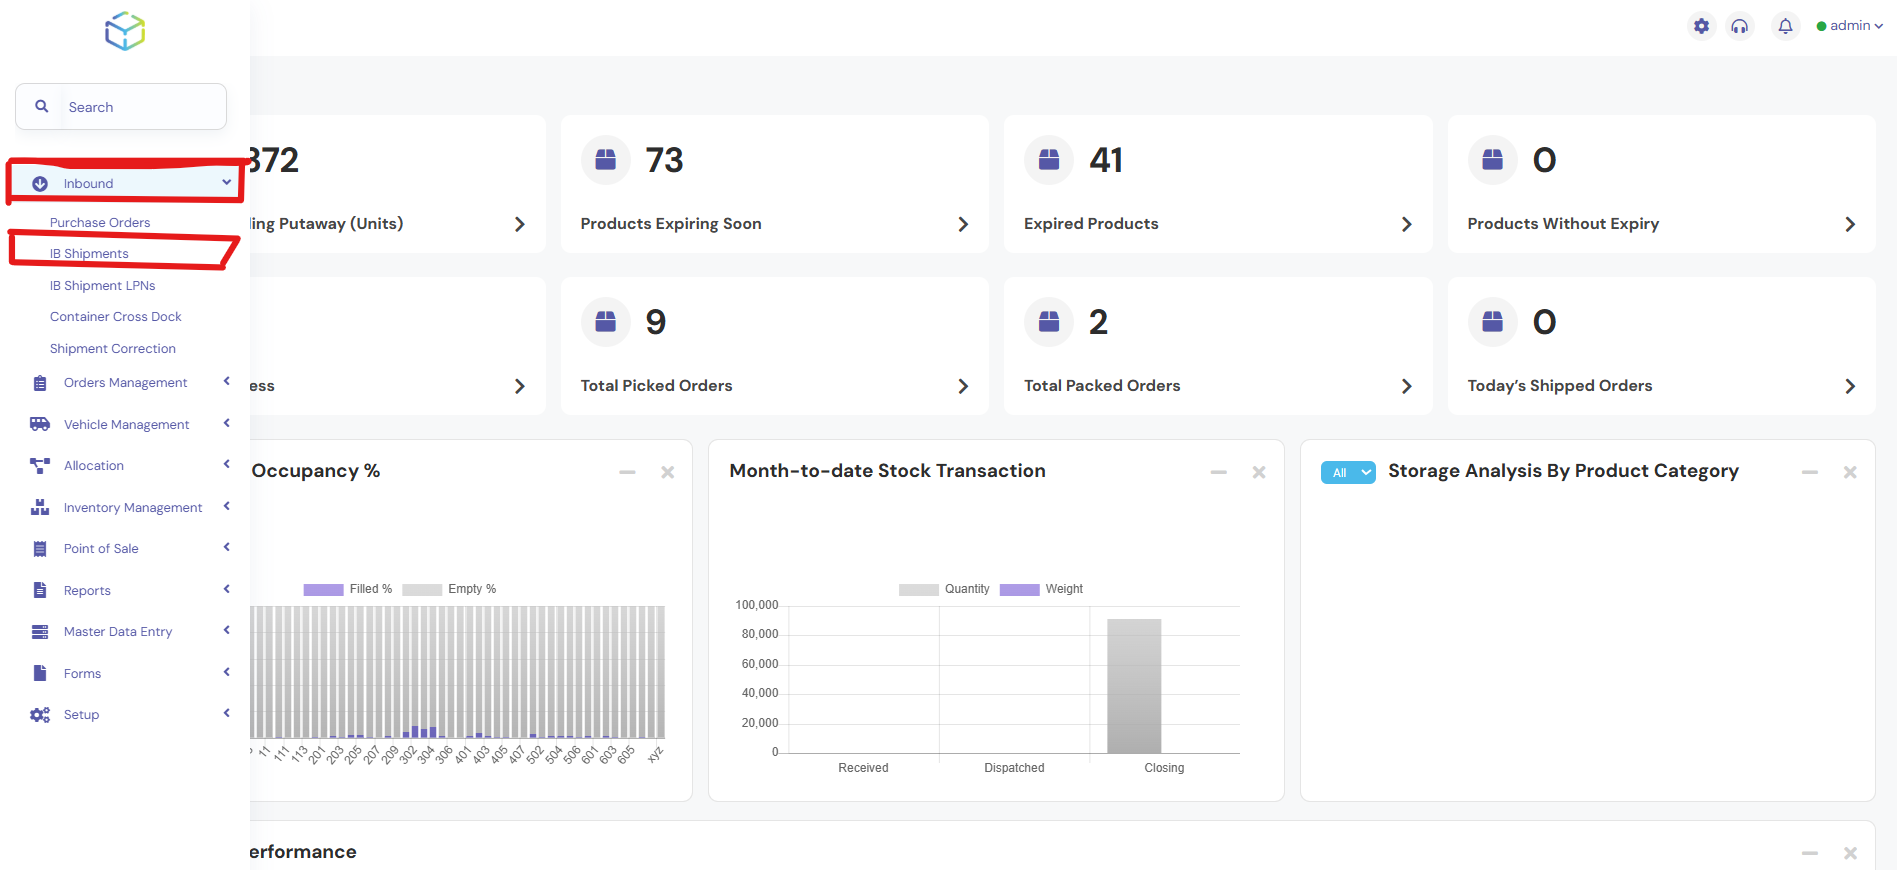
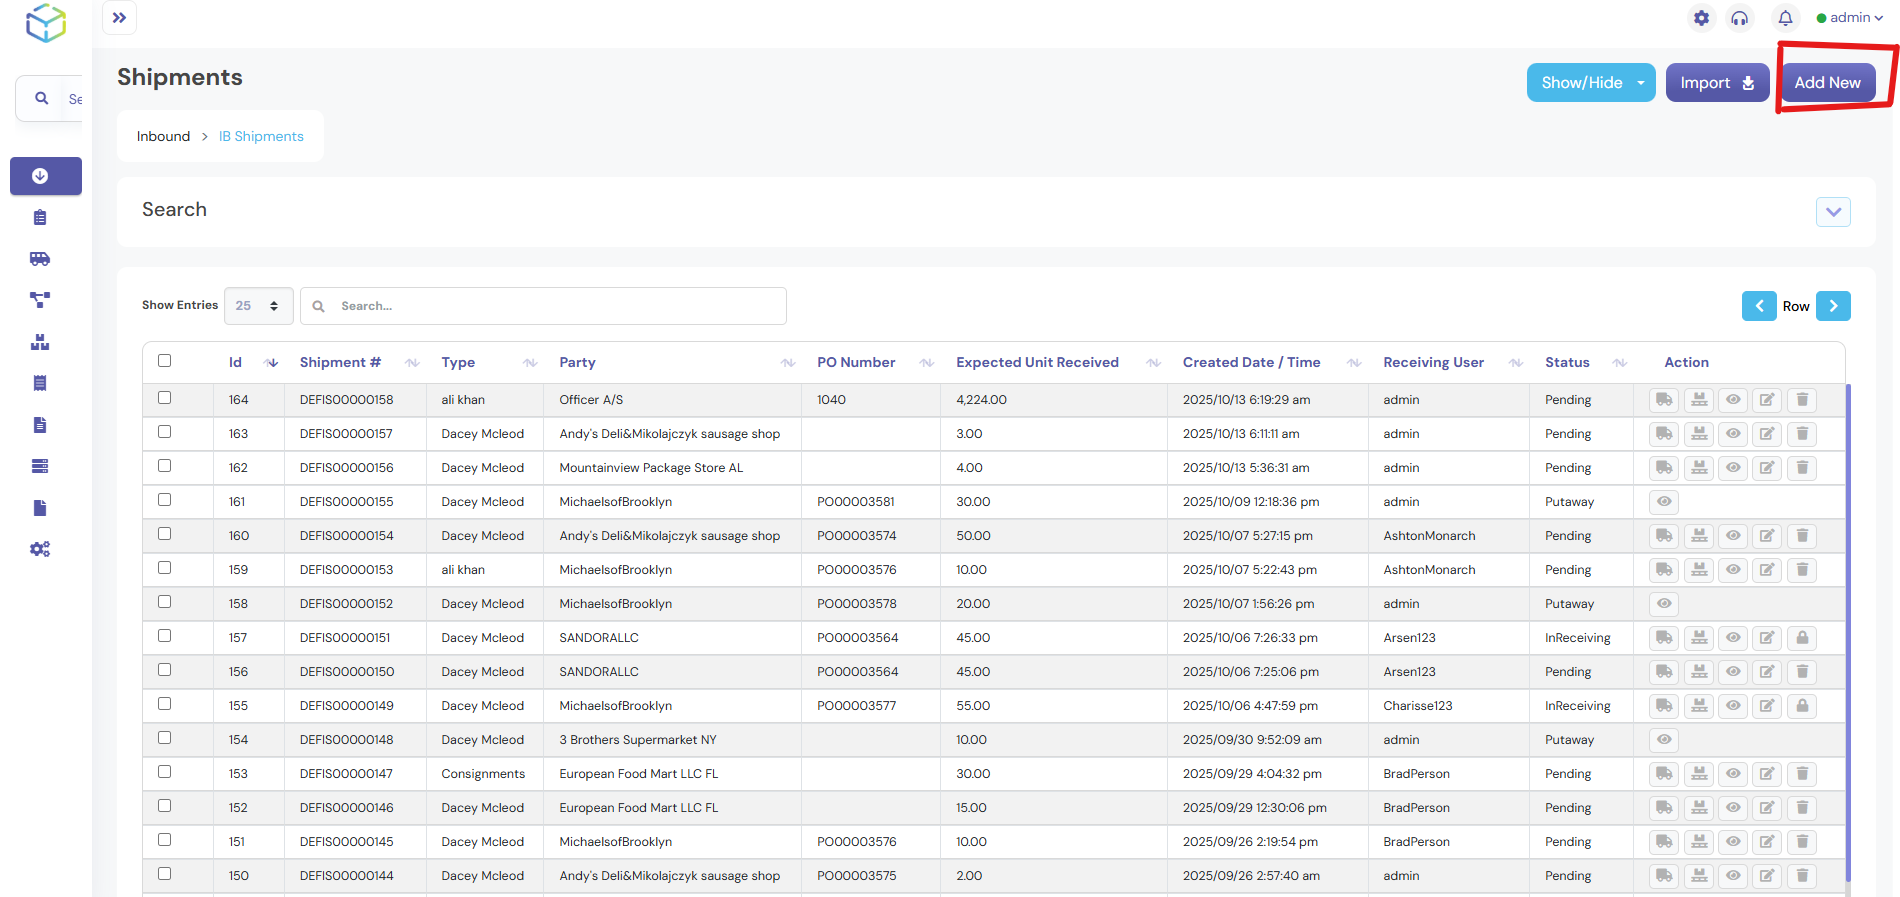
- On the IB Shipment screen, click Add New to create a new inbound shipment.
2. Entering Basic Shipment Details
- Fill the Following details.
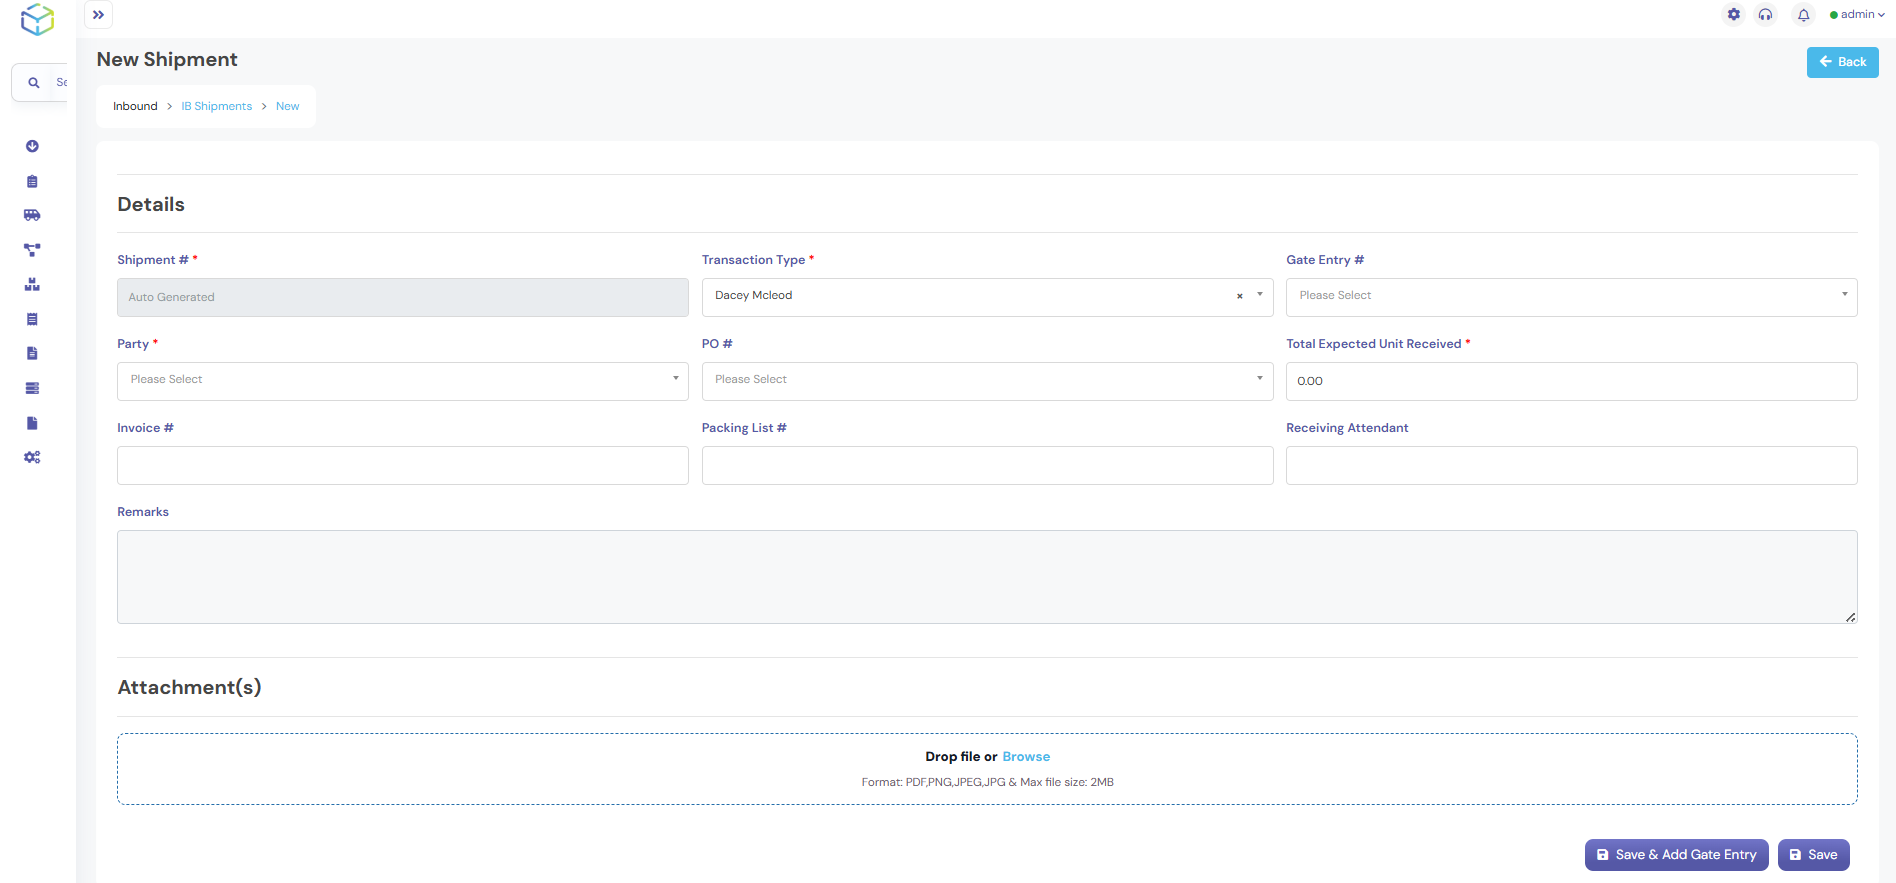
- Transaction Type: Select from the dropdown menu.
- Party: Choose the associated party.
- Purchase Order: Link to the corresponding purchase order.
- Total Units Received: Enter the number of units received.
- Packing List: Upload the packing list if required.
- Receiving Attendant: Select the responsible person for receiving the shipment.
- Attachments: Upload any supporting documents if necessary.
- Click Add and Save New to proceed.
3. Entering Shipment Details
- The Shipment Number will be generated automatically by the system.

4. Confirming Received Items
- The system will display the item and quantity chosen.
- Enter the number of units received.
- The LPN (License Plate Number) will be generated automatically by the system.
- Add the Batch Number and Expiry Date.
- Click Save & Exit.

- The system will now update the IB Shipment status to Received.
5. Put away Process
- The received product needs to be stored in a specific location.
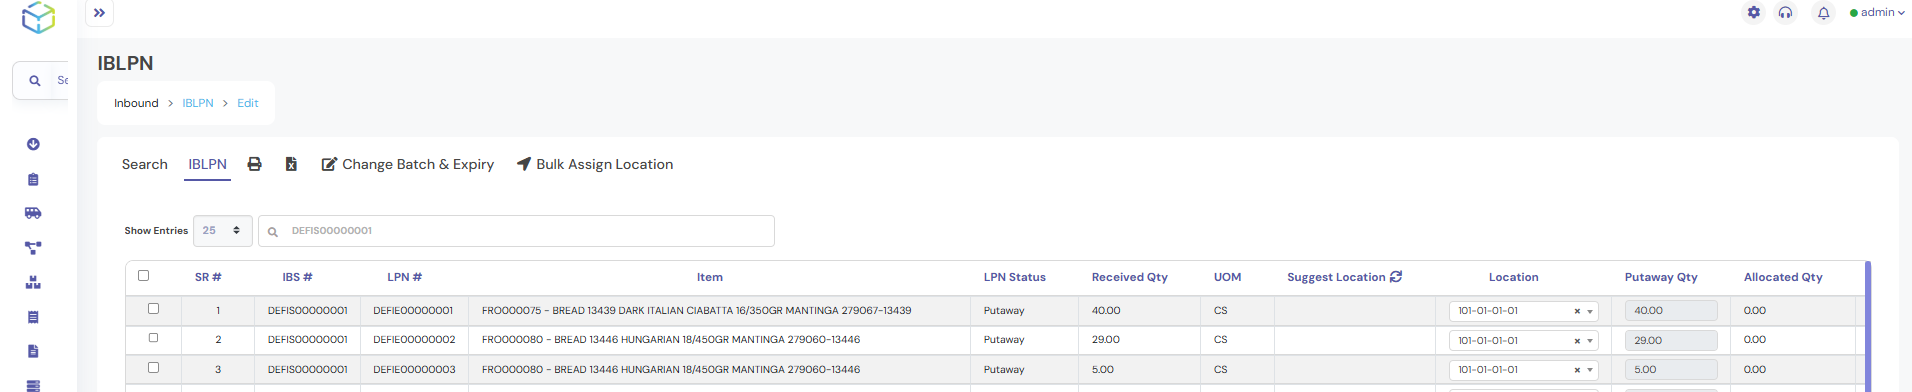
- Click on the LPN’s Icon to proceed.
- The system will display the IBLPNs screen.
- Select the location where you want to put away the IBLPN.
- The system will confirm successful putaway with a Success Notification.
6. Verifying Stock Availability
- Navigate to Inventory Management > Stock in Hand.
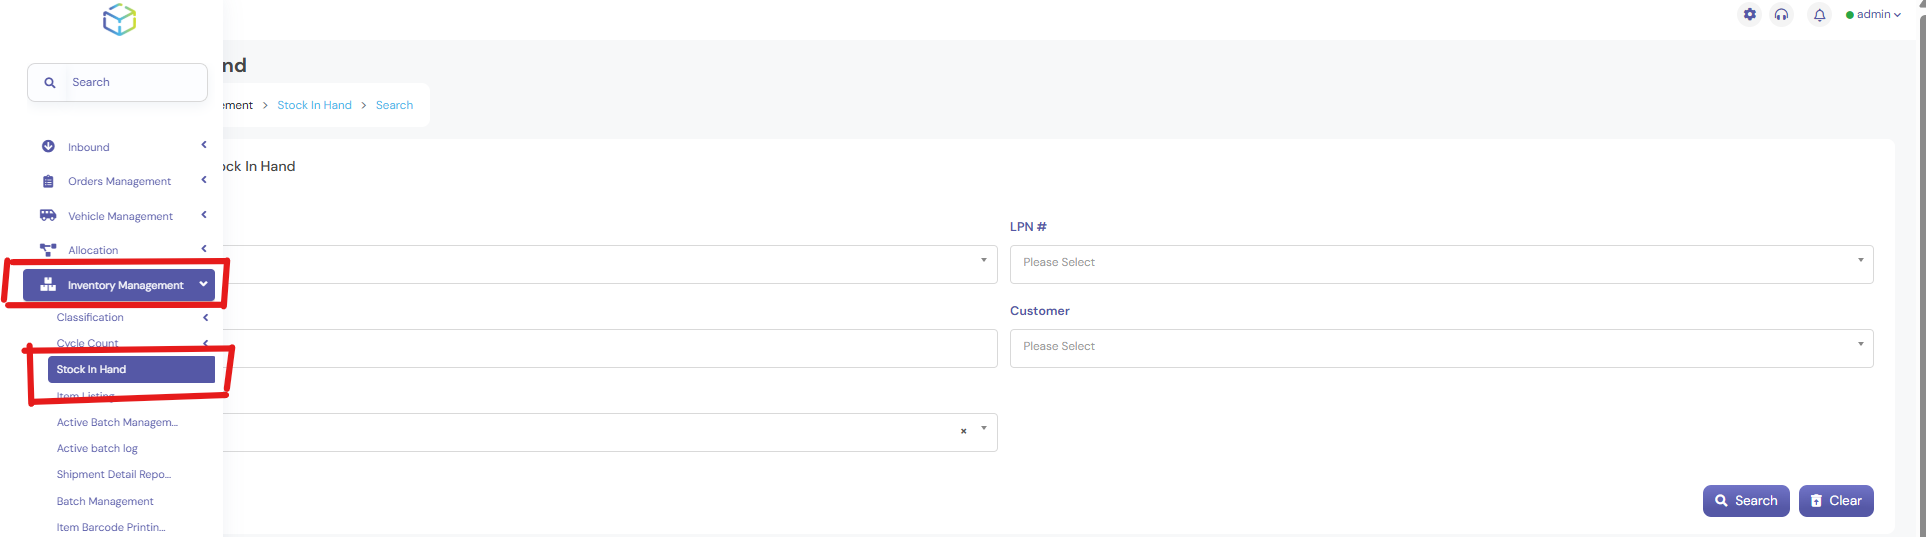
- Enter the Item Number.
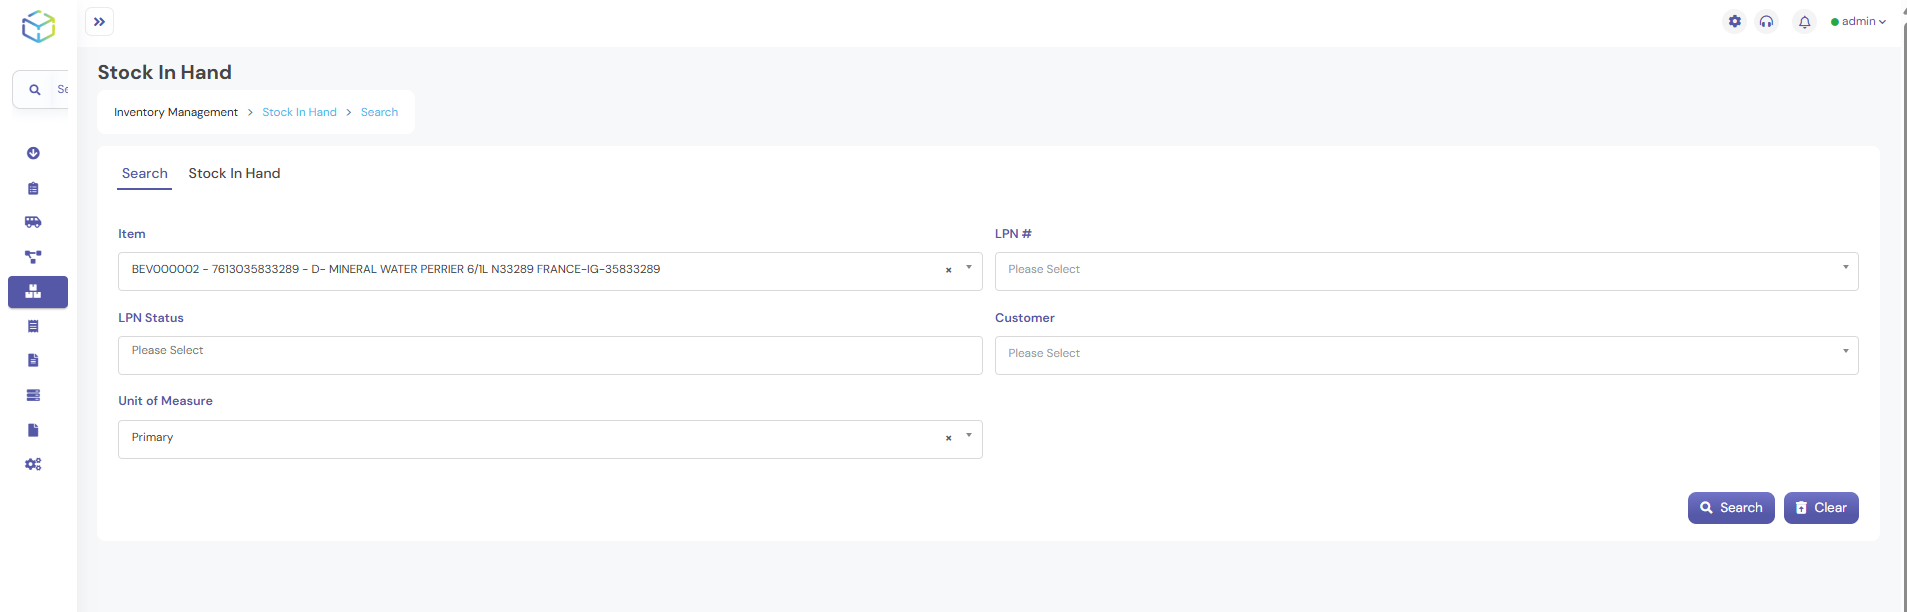
- Click Search.

- The system will display the total quantity received, confirming the stock is available.